Uplighting vs Downlighting: Which Works Best for Your Landscape?
Landscape lighting works best when light direction matches the purpose of the space. Uplighting directs light from ground level toward trees, architectural details, walls, and other vertical features, helping reveal texture, height, and structure. Downlighting directs light from an elevated position toward paths, patios, lawns, and other ground-level areas, providing softer illumination and improved visibility.
The better choice depends on the feature being illuminated, viewing angles, glare control, safety needs, and the desired nighttime appearance. Many landscapes use a combination of the two techniques to create depth and practical illumination without excessive brightness.
Jacksonville’s mature trees, fast-growing vegetation, humidity, heavy rain, sandy soils, and coastal exposure can also affect fixture placement and performance. Aloha Outdoor Lighting designs customized lighting systems with these local conditions and each property’s specific lighting needs in mind.
What Uplighting Actually Does to a Landscape
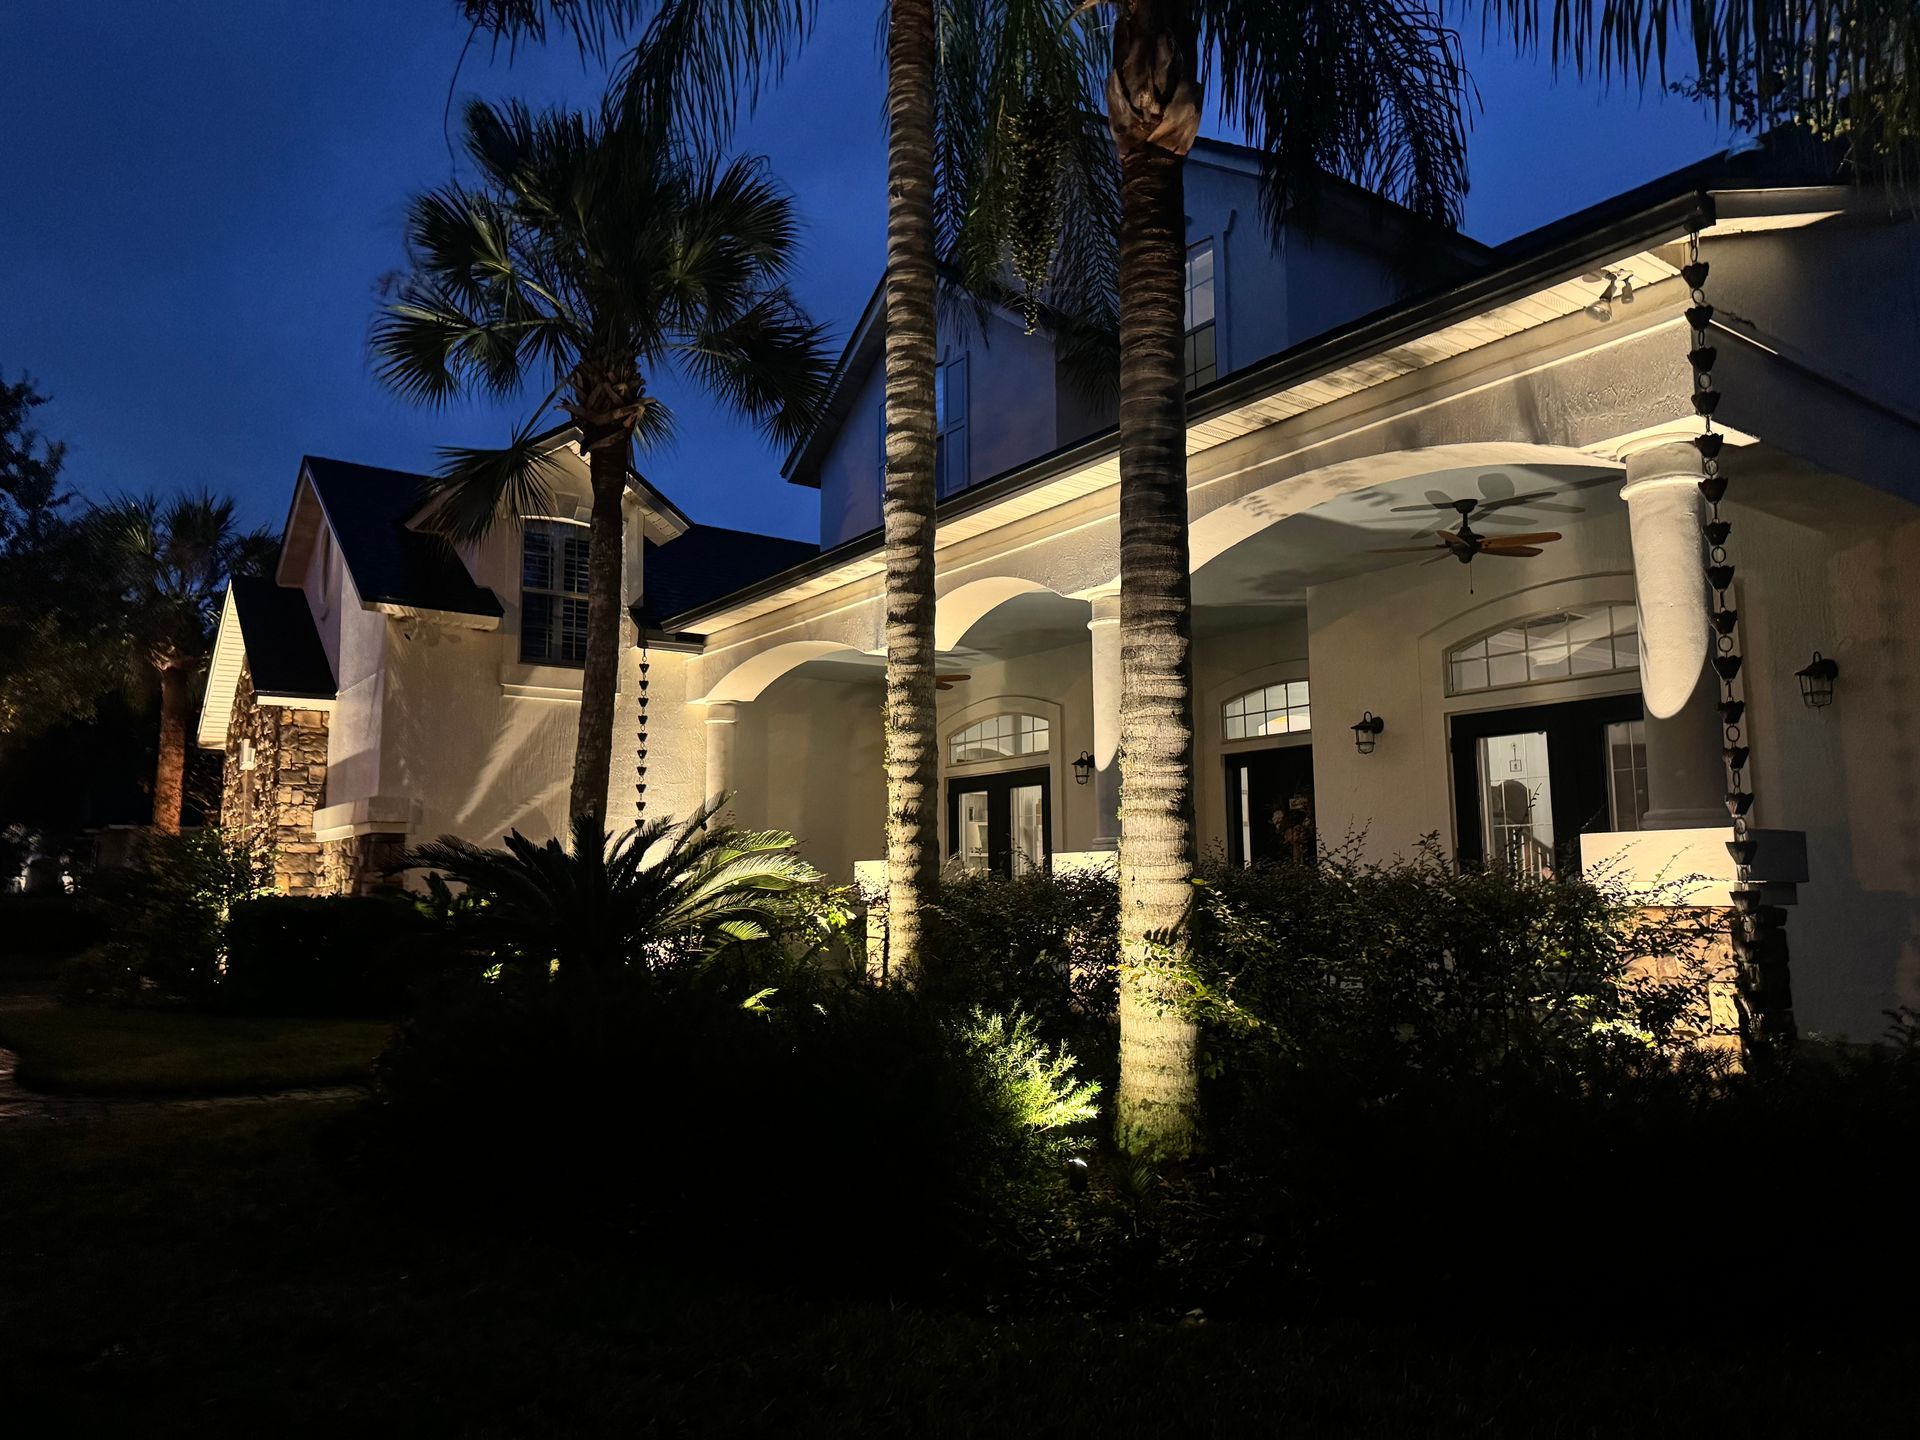
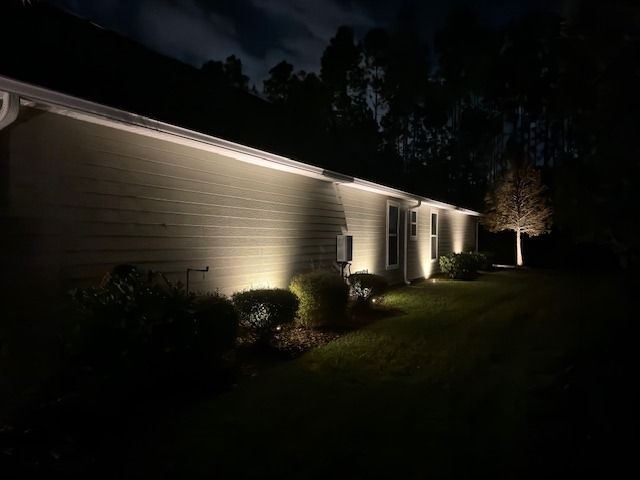
Uplighting usually places a fixture at or near ground level and aims its beam toward a selected feature. Trees are common targets, but the technique also works well for columns, palms, textured walls, entry features, sculptures, and distinctive architectural details.
Its biggest visual advantage is emphasis. Light traveling upward creates highlights and shadows that are uncommon during daylight. A tree trunk gains stronger texture, branches become more defined against the night sky, and stonework can appear deeper as small surface variations create visible shadow lines.
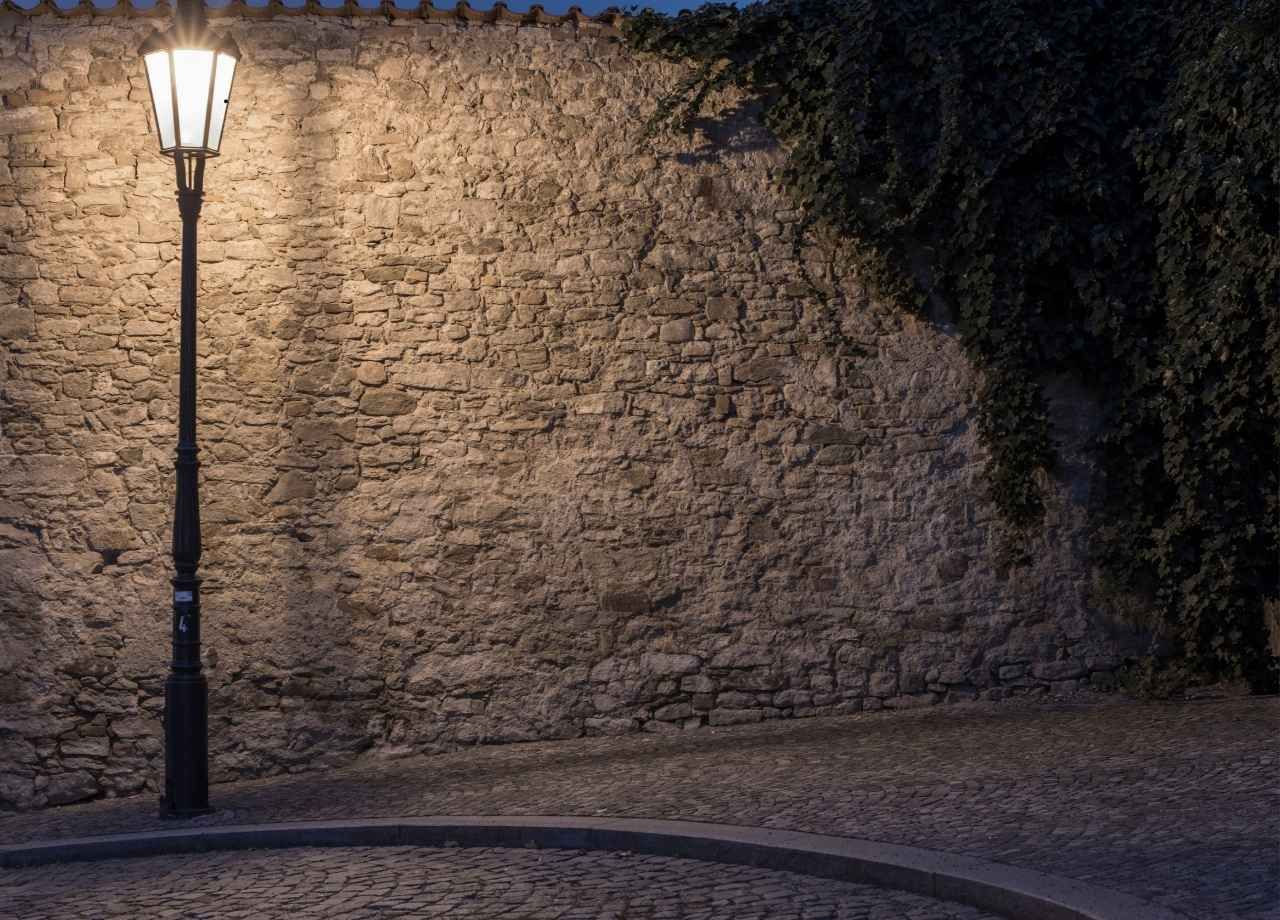
Beam angle has a major effect on the finished appearance. A narrow beam aimed along a tall palm trunk produces a very different result from a wider beam illuminating the canopy of a spreading live oak. Fixture distance matters too. Positioning a light close to a textured surface tends to emphasize texture, whereas increasing the distance usually creates a broader, softer wash.
Uplighting also establishes visual hierarchy. A specimen tree can become the main nighttime focal point even if it blends into the surrounding landscape during the day. That makes the technique especially useful when a property has mature trees or architectural details worth emphasizing.
Where Uplighting Works Best
Mature trees are strong candidates for uplighting. A carefully positioned fixture can illuminate the trunk and major branching structure without trying to flood the entire canopy. Large trees may require more than one controlled beam to avoid making the tree look flat or excessively bright from a single direction.
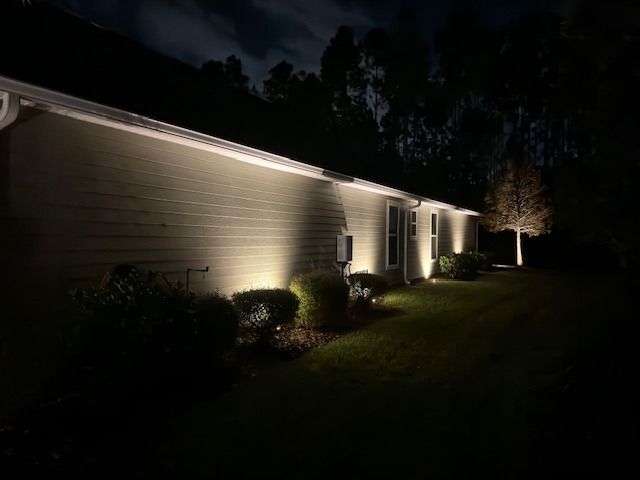
Architectural surfaces also respond well to upward-directed light. Brick, natural stone, stucco, columns, and structural details can gain depth when the fixture is positioned correctly. Light placed close to a textured wall can accentuate its surface, whereas a fixture set farther away generally produces a more uniform wash.
Palms need particularly careful aiming. A fixture pointed directly up a trunk can create an intense hotspot near the base while leaving the crown relatively weak. Beam spread, output, fixture setback, and aiming angle should correspond with the palm's height and canopy shape.
Uplighting can also create depth across a large property. Lighting selected trees farther from a patio or house prevents the background from disappearing completely after dark. That helps outdoor living areas feel connected to the surrounding landscape.
How Downlighting Changes the Nighttime Environment
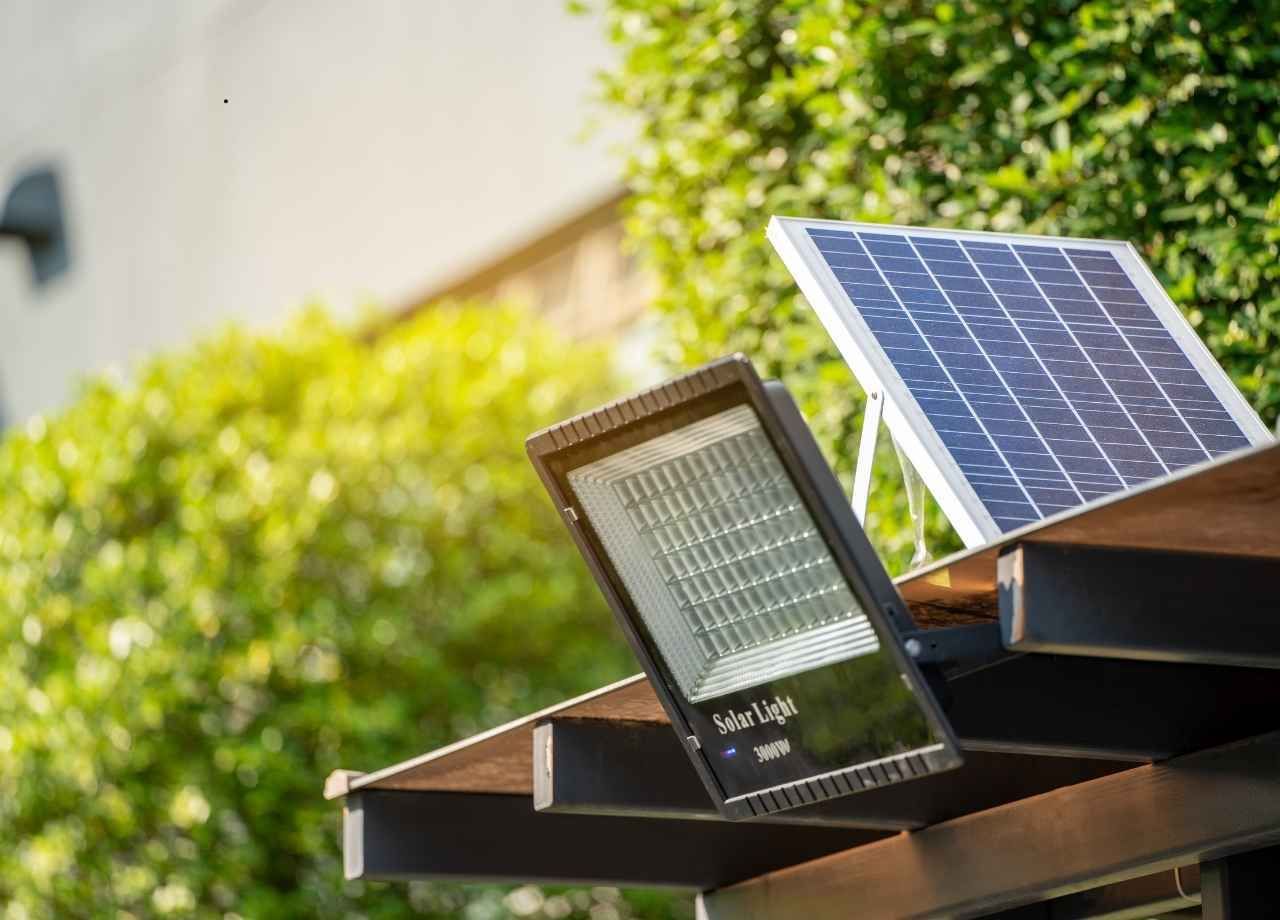
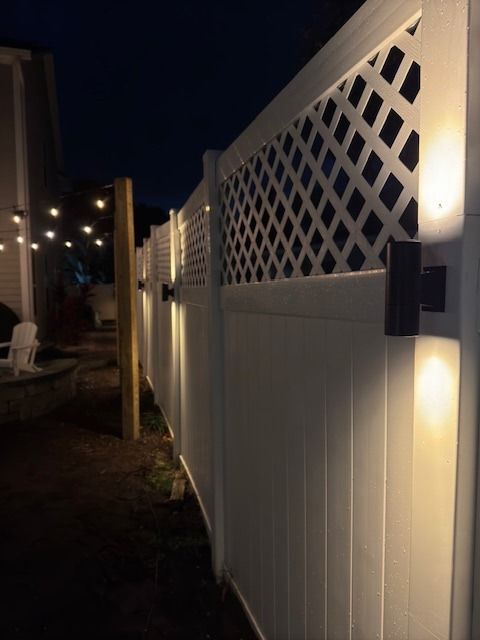
Downlighting places a fixture above the target and aims its beam toward the ground. Fixtures may be installed in trees, beneath rooflines, on pergolas, or on other suitable structures. Rather than emphasizing the fixture, the objective is usually to make the illuminated surface below visible.
This technique often feels natural because people are accustomed to receiving light from above. Properly positioned downlights can create an effect similar to moonlight passing through branches. Leaves and limbs interrupt the beam and cast irregular shadows over lawns, planting beds, patios, and walkways.
Downlighting also allows one properly positioned source to cover a useful area without lining the ground with numerous fixtures. A tree-mounted fixture may illuminate part of a lawn and adjacent walkway at the same time, provided the optics and mounting position are appropriate.
Mounting height changes the size and character of the illuminated area. Higher positions can provide broader coverage, depending on the fixture and beam angle. Careful shielding becomes increasingly important because poorly aimed fixtures can produce glare or send unwanted light toward windows and neighboring properties.
Where Downlighting Has the Advantage
Paths and transition areas are good candidates when suitable overhead mounting points are available. Light from above can reveal curves, surface changes, steps, and nearby planting without creating a visible row of fixtures along the path.
Patios and outdoor seating areas can also benefit from controlled downlighting. Fixtures positioned overhead can provide useful illumination across tables, cooking areas, and circulation zones without putting bright sources directly at eye level. Proper shielding keeps attention on the illuminated surface rather than the fixture.
Large trees can provide excellent mounting positions. A fixture placed within a canopy can send light through leaves and branches to produce natural shadow patterns. Attachment methods, cable placement, maintenance access, tree growth, and future pruning should all be considered because the mounting surface continues to grow.
Driveways and broad lawn areas may also benefit from downlighting when visibility is more important than decorative emphasis. Wider controlled coverage can be more natural than using numerous bright ground fixtures.
Uplighting vs Downlighting for Trees
Trees show the difference between these techniques particularly well. Uplighting emphasizes the tree itself. Downlighting uses the tree as a mounting location and often relies on its canopy to shape the illumination reaching the ground.
Consider a large live oak. Uplighting its trunk and major limbs reveals structure and creates a strong focal point. Downlighting from within its canopy can illuminate a walkway, lawn, or planting bed underneath. Carefully combining the techniques can make the tree visible and improve usability around it without turning the entire area into a brightly lit zone.
Tree species and growth habits also affect fixture selection. Tall palms have different lighting requirements from wide-canopy oaks. Dense foliage can block downlight beams, and new growth can alter beam paths over time. Periodic adjustment may be needed as branches and leaves change.
Maintenance differs as well. Ground-mounted uplights are accessible but can be affected by mulch, irrigation, plant growth, and lawn equipment. Tree-mounted fixtures avoid many ground-level issues but may require specialized access for cleaning, repositioning, or servicing.
Glare and Beam Control Can Make or Break the Design
Brightness does not determine lighting quality on its own. Glare is one of the most common reasons a landscape lighting installation feels uncomfortable after dark.
An uplight aimed across a normal viewing path can expose the LED source directly to someone approaching the house. A downlight mounted too low or aimed too far outward can create a similar problem. Fixtures near seating areas, windows, property boundaries, and frequently used walkways require careful positioning.
Shielding helps keep unwanted brightness out of normal sightlines. Glare guards, cowls, louvers, fixture orientation, mounting height, and beam angle can all be used to control where light travels. Sometimes the best correction is simply reducing output or changing the fixture location.
Beam spread deserves equal attention. Narrow beams suit tall, slender features and situations requiring precise control. Wider beams work better for broad tree canopies, walls, and larger planting areas. A beam that is too wide wastes light beyond the intended target, whereas one that is too narrow can create harsh hotspots and obvious dark gaps.
Which Technique Is Better for Safety?
Downlighting often has an advantage when the primary objective is visibility across walking surfaces, steps, elevation changes, and activity areas. Illumination from above can reveal the ground without placing a bright fixture beside every potential hazard.
Uplighting can improve general orientation, but decorative illumination should not be mistaken for functional path lighting. A beautifully illuminated tree may help define the edge of a yard without providing enough useful light on a nearby step or uneven surface.
Steps deserve careful treatment because people need to recognize the change in elevation before reaching it. Depending on the property, the solution may involve controlled downlighting, dedicated step fixtures, path lighting, or a carefully balanced combination.
Excessive brightness can work against visibility. Eyes adapt to the brightest source within the field of view, making surrounding dark areas harder to see. Good safety lighting relies on controlled transitions and limited glare rather than maximum output.
Energy Efficiency Depends on More Than Choosing LEDs
Modern low-voltage LED landscape lighting consumes much less power than older halogen systems, but using LED fixtures does not automatically make a design efficient. Poorly aimed fixtures can still waste substantial light.
Precise beam control directs illumination toward the intended tree, wall, path, or patio. Proper optics can reduce the temptation to compensate for poor placement with higher-output fixtures. Giving each fixture a defined job also prevents unnecessary overlap.
Controls can further reduce operating time. Timers, astronomical controls, photocells, and compatible smart controls allow landscape lighting to operate when it provides a useful visual or functional benefit rather than remaining on throughout the night.
Color temperature affects appearance as well. Warm white light is widely used for residential landscapes because it complements wood, brick, stone, foliage, and many architectural finishes. Choosing color temperature should be based on the materials being illuminated and the desired nighttime appearance rather than selecting a cooler source simply because it appears brighter.
Jacksonville Conditions Should Influence Fixture Placement
Northeast Florida's environment places specific demands on outdoor lighting. High humidity, heavy rainfall, irrigation, sandy soil, fast plant growth, and salt exposure near coastal areas can affect fixtures, connections, hardware, and mounting locations.
Ground-mounted uplights need stable positioning and suitable drainage. Fixtures located where water routinely collects can require more cleaning and maintenance. Mulch, grass, and rapidly growing plants can also cover lenses or interfere with beam paths.
Tree-mounted downlights avoid many ground-level problems but introduce different concerns. Wiring and mounting methods should accommodate tree growth, and fixtures need to remain accessible for future adjustments. New foliage can gradually block a beam that was unobstructed when the system was installed.
Material quality is especially important near coastal environments. Salt-laden air can accelerate corrosion on unsuitable metals and hardware. Fixtures, finishes, connectors, and mounting components should be selected with long-term outdoor exposure in mind.
Using Uplighting and Downlighting Together
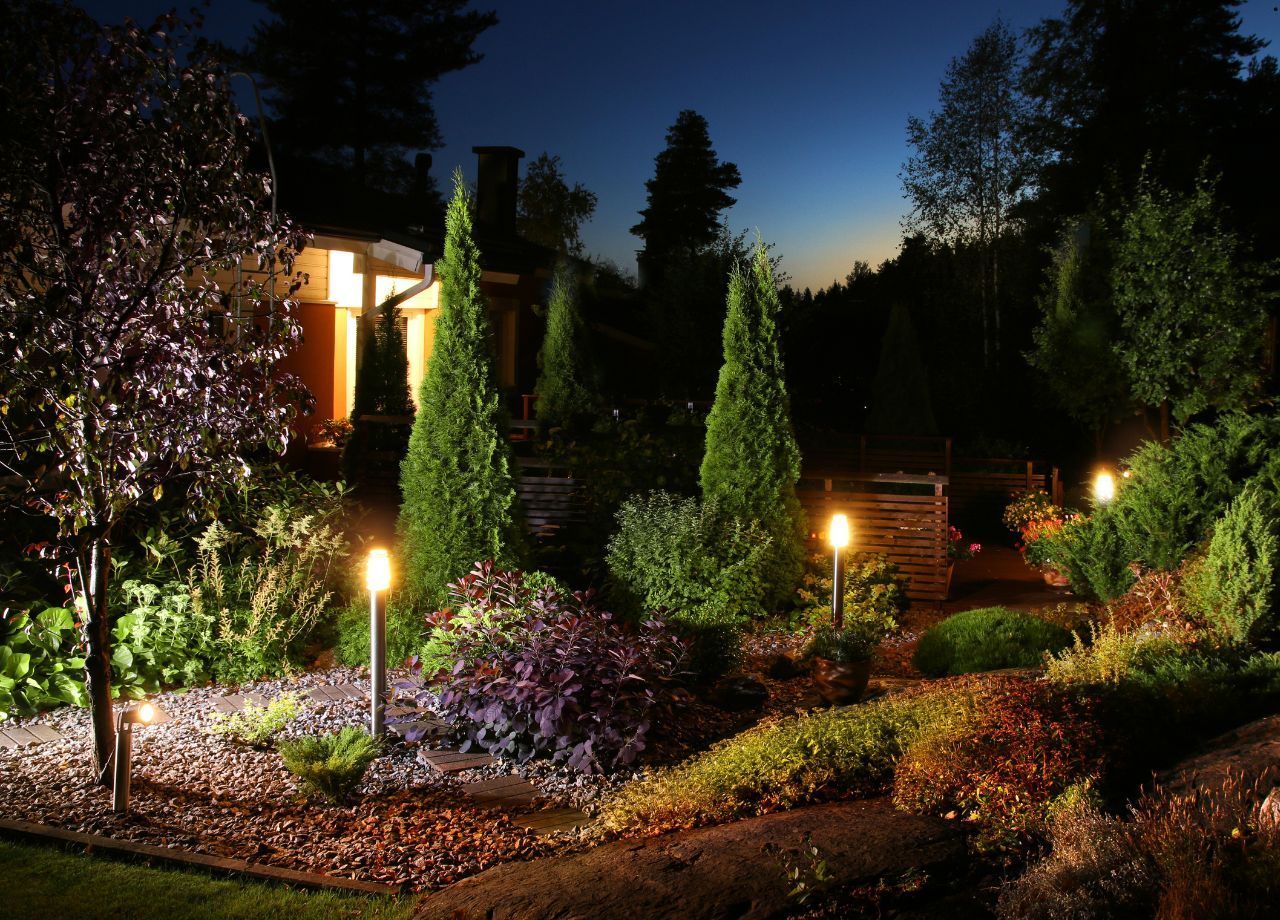
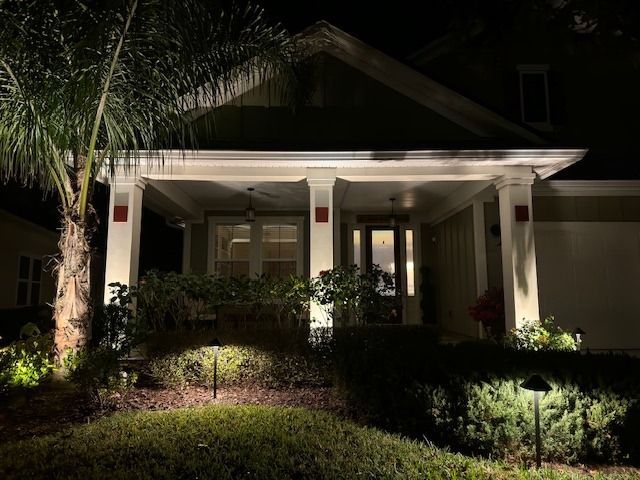
Many landscapes benefit from a measured combination of the two techniques. A front elevation might use subtle uplighting on architectural features, a mature tree could receive stronger accent lighting, and a backyard path could rely on downlighting for comfortable visibility.
Combining techniques does not mean illuminating every available tree, wall, shrub, and walkway. Too much light reduces contrast and can make an otherwise attractive landscape look visually crowded. Darkness should remain part of the design.
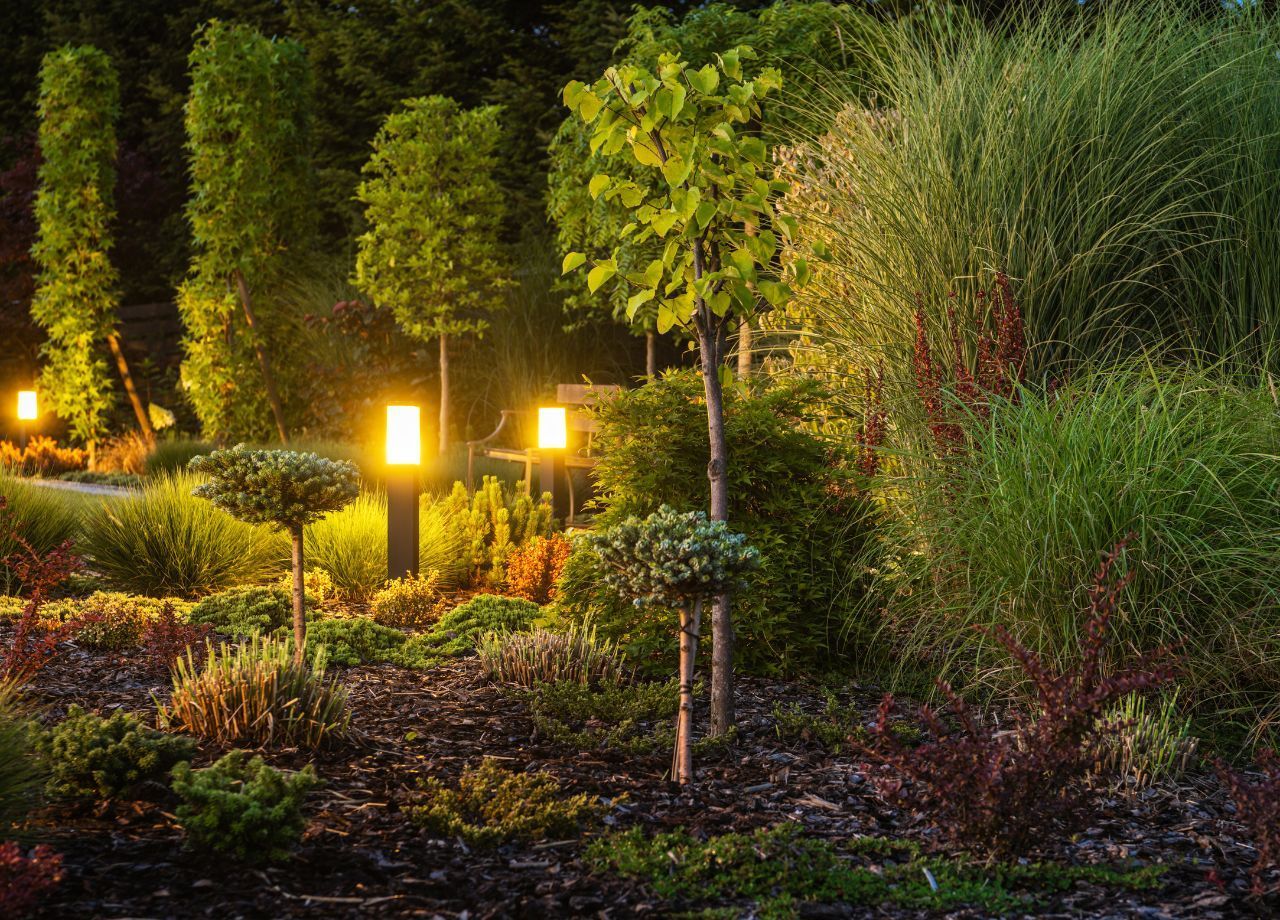
Each fixture should have a defined role. One uplight may establish a focal point at a specimen tree, while a downlight from another tree provides visibility across a nearby walkway. Softer lighting farther into the property can create depth without competing with the main features.
Brightness should vary according to importance. Primary features can receive stronger emphasis, secondary elements can remain quieter, and selected areas can stay dark. That balance produces a more natural nighttime environment.
Which Works Best for Your Landscape?
Uplighting works best for emphasizing vertical features like trees, palms, columns, textured walls, and architectural details. Proper placement adds depth and highlights texture without making the landscape feel overly bright.
Downlighting is better suited to walkways, patios, lawns, driveways, and outdoor living areas where visibility at ground level matters. It can also create a soft moonlighting effect when fixtures are positioned within mature trees.
Many landscapes benefit from combining the two techniques. The right balance depends on the features being illuminated, viewing angles, glare control, beam spread, plant growth, and how each outdoor area is used. Thoughtful placement allows uplighting to create visual interest and downlighting to provide comfortable, practical illumination.