Outdoor Lighting Project Gallery and Case Studies: What Finished Projects Reveal About Good Lighting Design
Outdoor lighting is easier to understand when you can see how a design performs on a real property after sunset. Fixture specifications matter, but photographs and project case studies reveal details that product sheets cannot: beam width across masonry, shadow patterns under mature trees, glare from a seating position, transitions between bright and dark areas, and the way several lighting layers work together.
A useful outdoor lighting project gallery should do more than display attractive nighttime photography. Each project should explain the property conditions, design goals, fixture choices, installation decisions, and finished result. For homeowners planning a project, those details make it possible to separate thoughtful lighting design from a yard that simply contains many fixtures.
For Jacksonville-area properties, Aloha Outdoor Lighting can apply these same design principles through customized landscape and architectural lighting solutions, including efficient LED systems planned around the property's architecture, landscape, circulation areas, and nighttime use.
What to Look for When Reviewing an Outdoor Lighting Gallery
Start with the areas that are not brightly illuminated. Skilled landscape lighting uses darkness intentionally. Trees, walls, walkways, steps, planting beds, and architectural details should have visual separation rather than blending into one uniformly bright scene.
Look at the light source as well. A strong installation often allows you to notice the illuminated surface without immediately noticing the fixture or lamp. Visible hotspots, exposed LEDs, harsh beams pointed toward eye level, and excessive brightness can indicate weak fixture placement or poor aiming.
Current responsible-lighting guidance supports this restrained approach. DarkSky International and the Illuminating Engineering Society promote lighting that is useful, targeted, no brighter than necessary, controlled, and warm-colored where practical. Careful aiming, shielding, lower output, timers, and other controls can reduce glare, spill light, energy use, and unnecessary sky glow.
Case Study 1: Creating Depth Across a Front Elevation
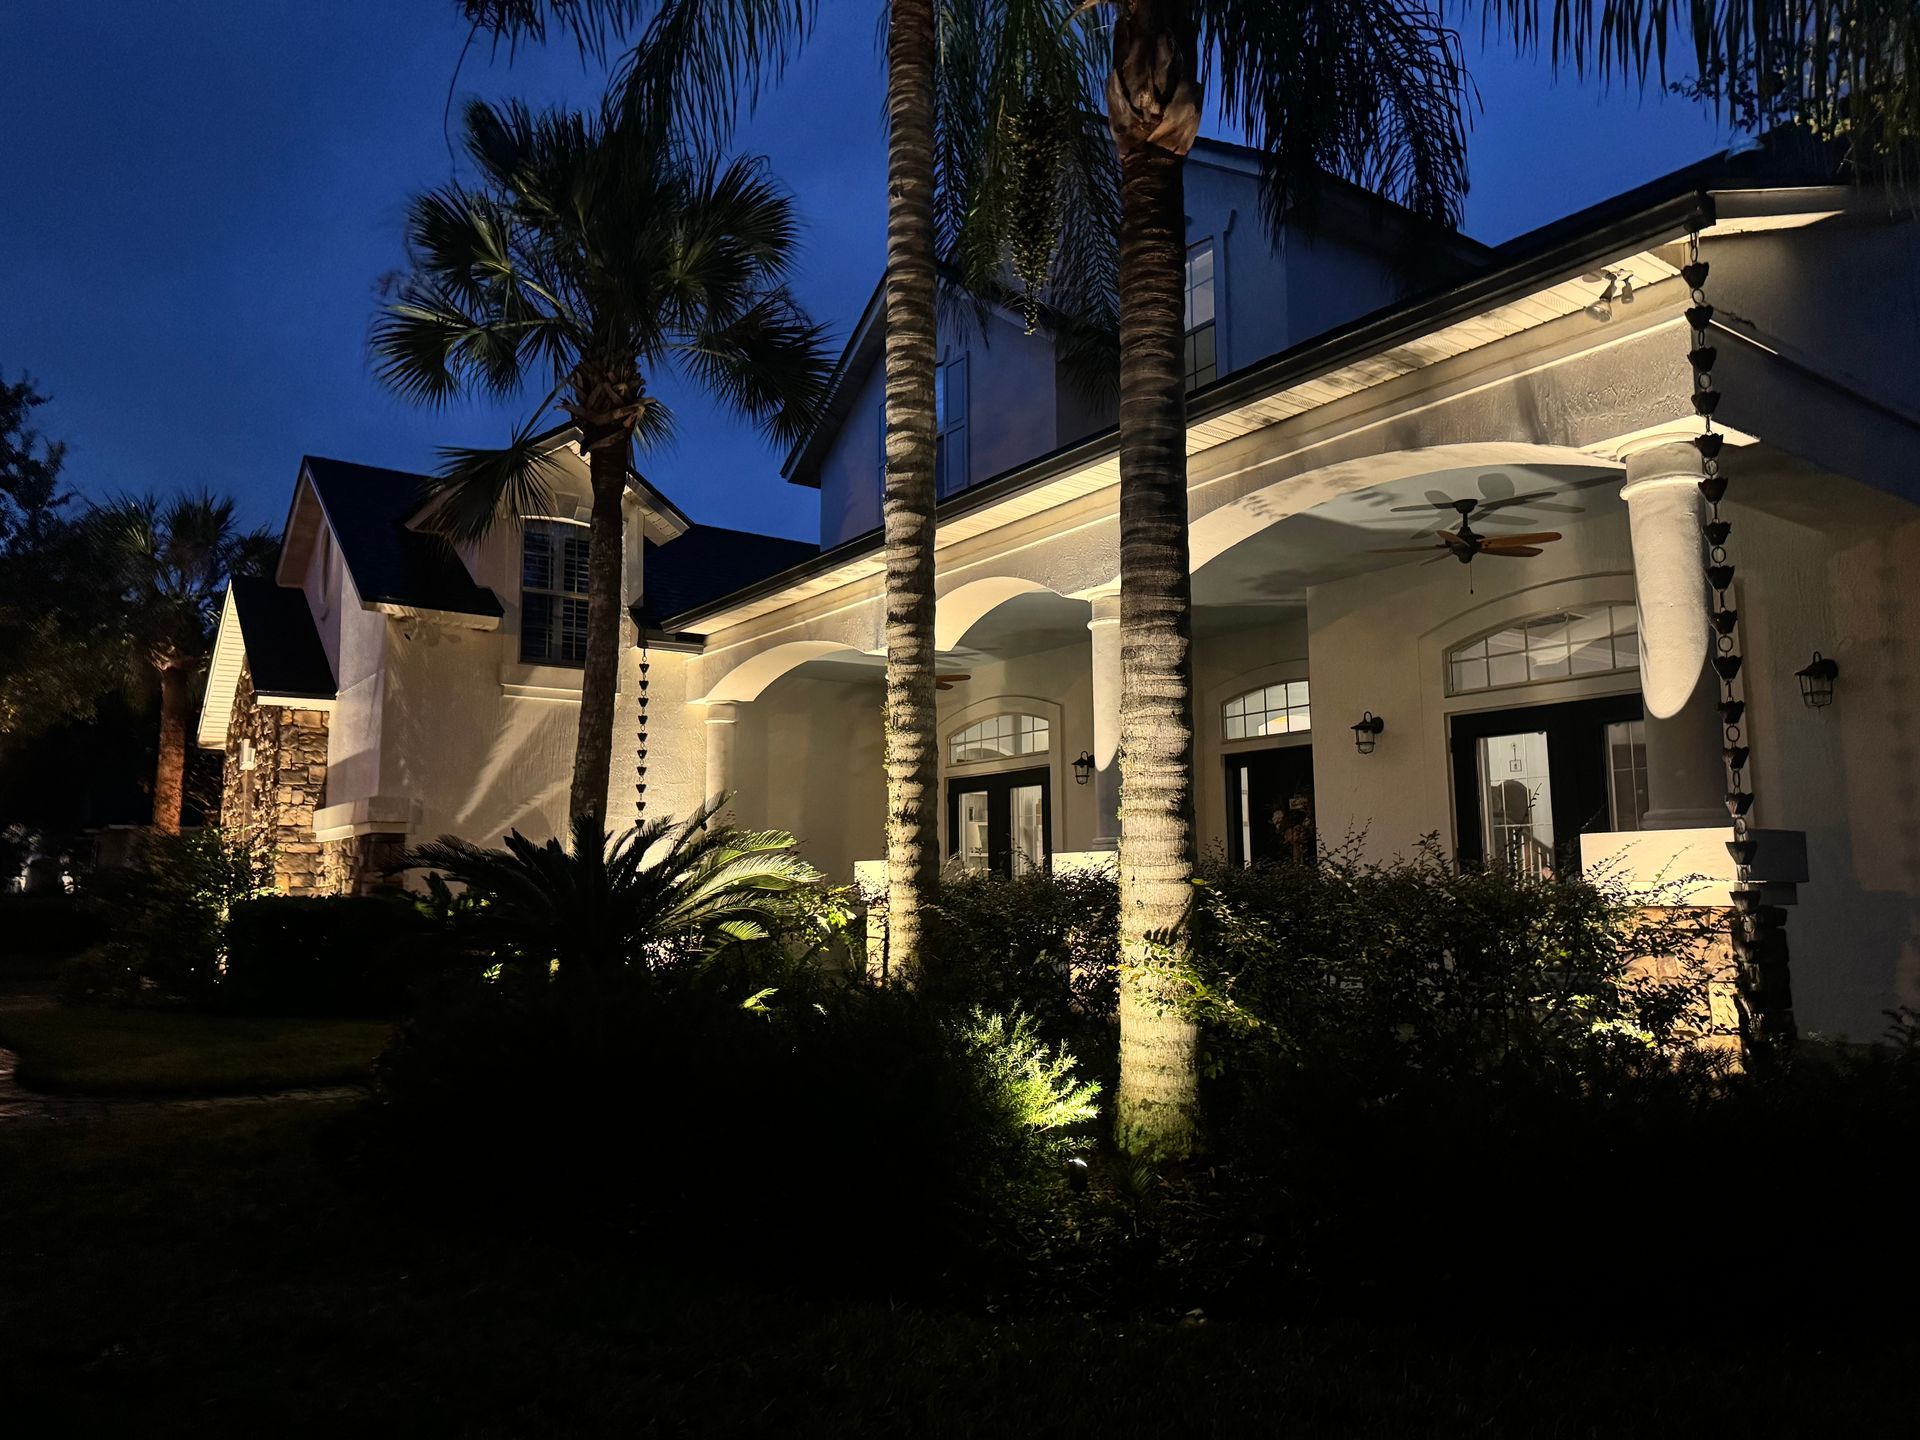
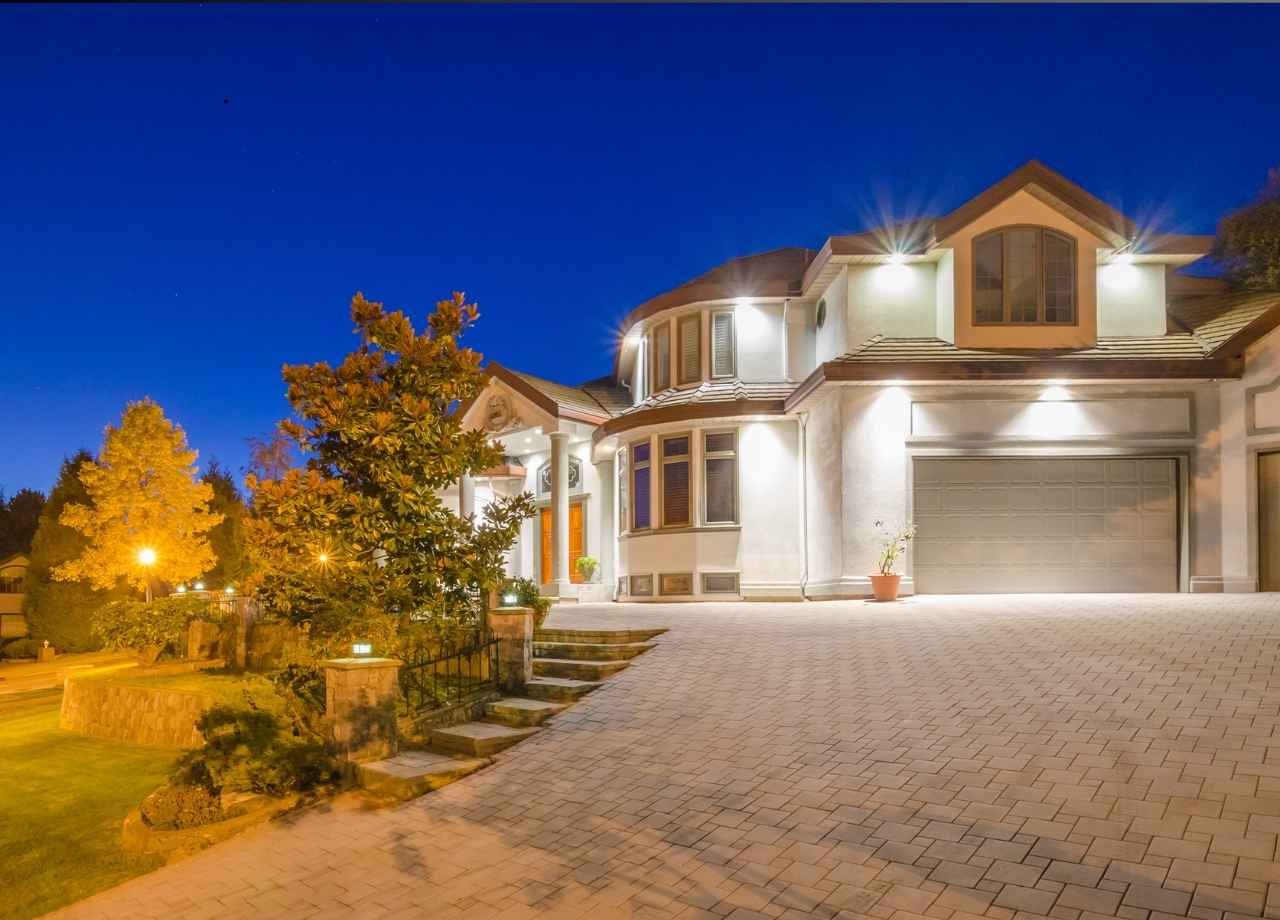
Consider a two-story home with a broad facade, several columns, foundation landscaping, and mature trees near the driveway. A common mistake would be placing identical uplights at regular intervals across the front. That creates repetition rather than depth.
A stronger design might use narrower beams on tall columns, wider distributions across textured walls, and carefully positioned uplights for selected trees. Secondary plant material may receive little or no direct illumination. The resulting contrast allows the eye to move naturally from architecture to landscape instead of seeing one continuous band of brightness.
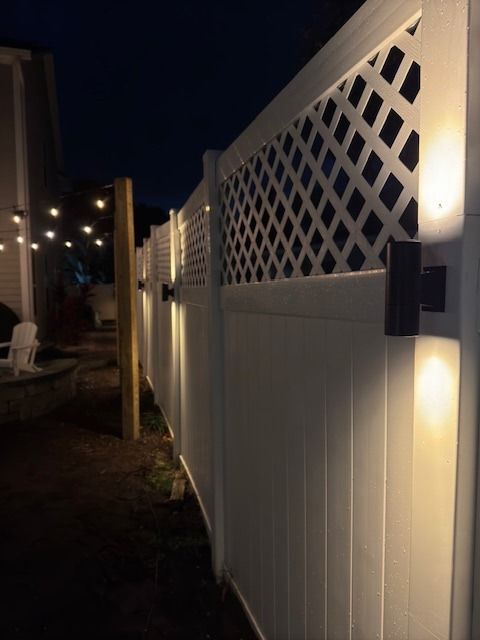
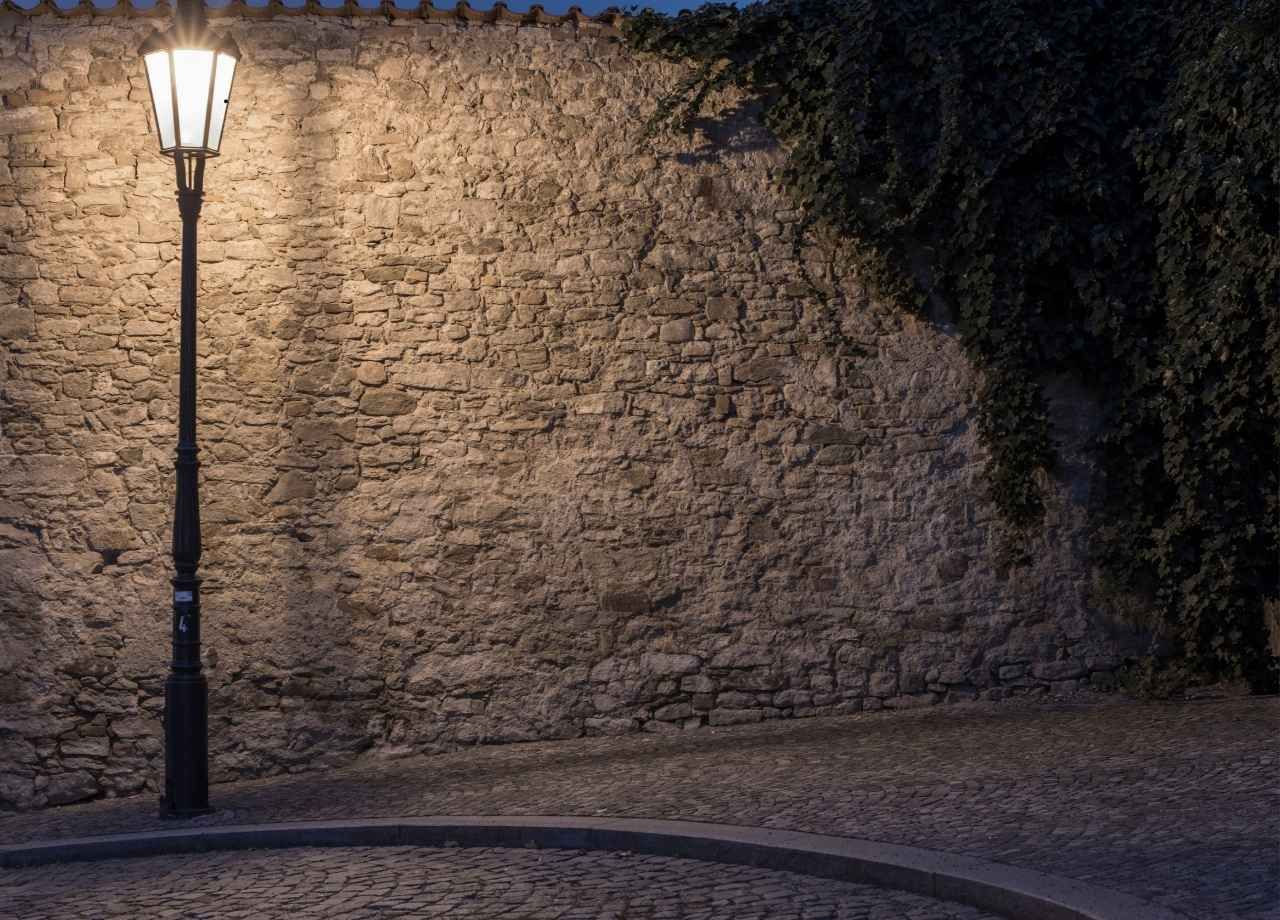
Fixture setback also changes the result. A light installed close to a brick wall emphasizes texture through stronger shadowing. Moving the fixture farther away can soften the effect and spread illumination across a larger surface. Galleries become much more useful when nighttime images show these differences instead of presenting only a wide shot from the street.
Case Study 2: Lighting a Backyard Without Flooding It
Backyards present a different design problem. Patios, pools, outdoor kitchens, lawns, trees, fences, and seating areas may all occupy the same visual field, yet they do not need the same light level.
Picture a backyard where the patio needs comfortable ambient illumination, steps require visibility, and several mature trees provide the main nighttime scenery. Floodlighting the entire yard may technically make everything visible, but it can flatten the landscape and produce uncomfortable glare.
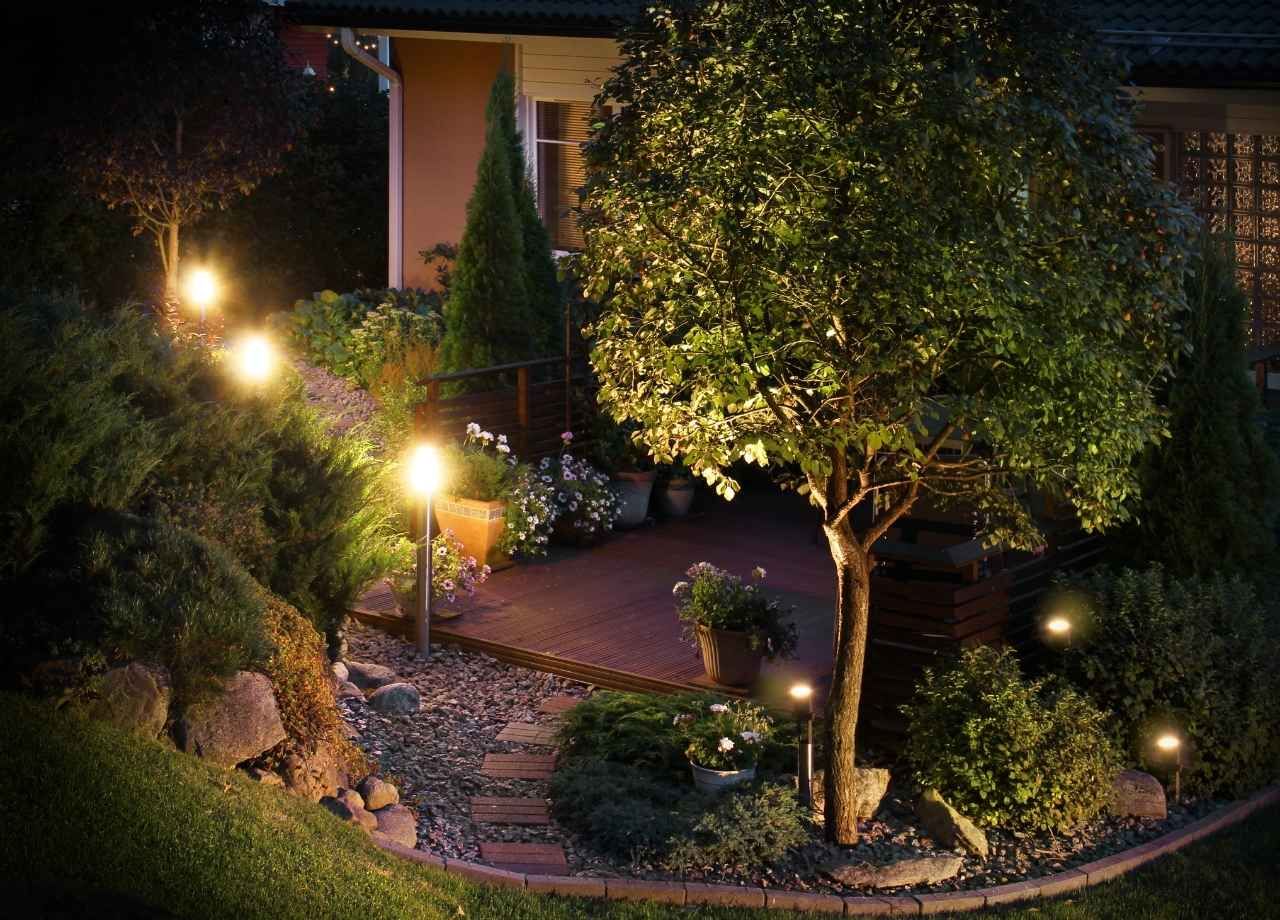
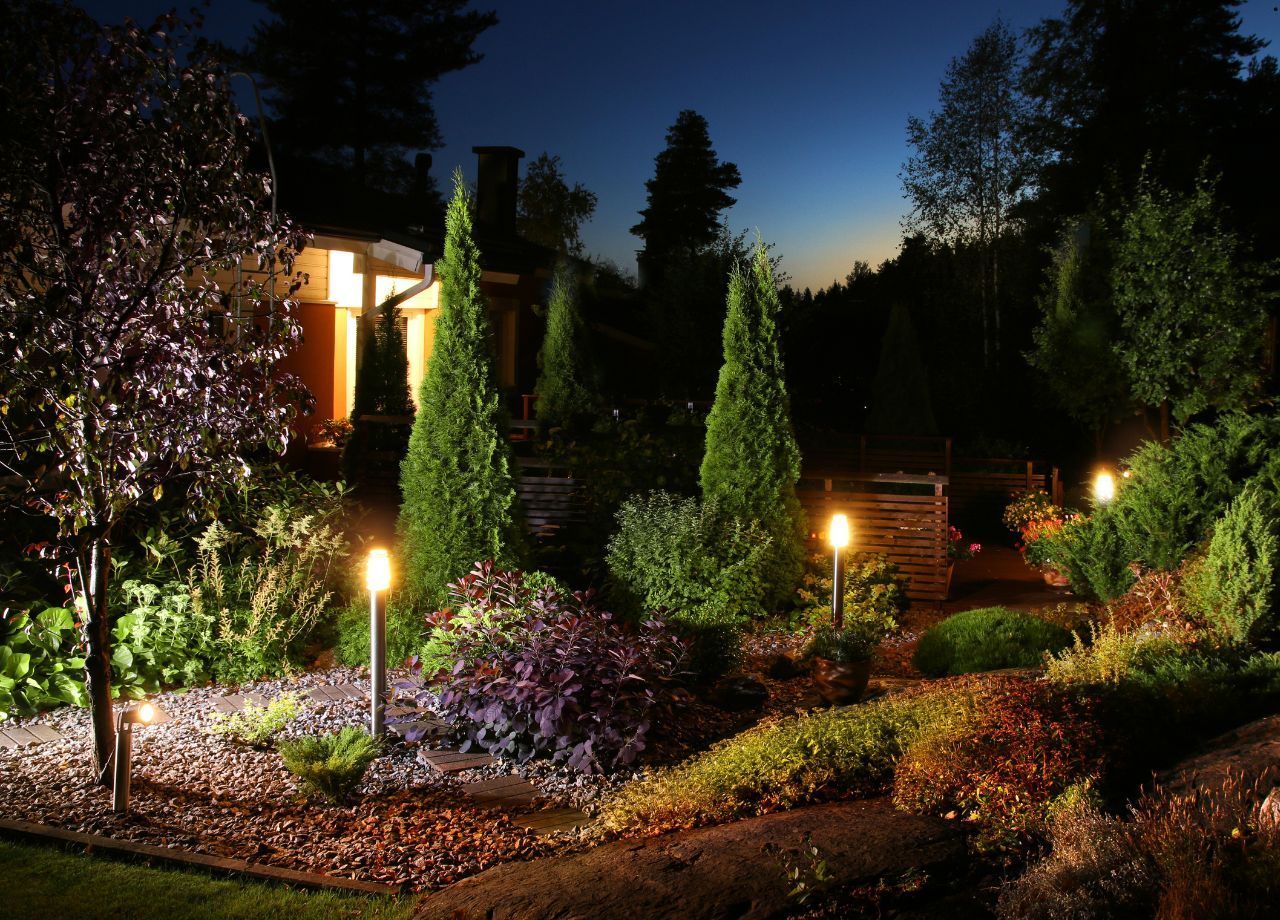
A layered plan can use low-level path or step lighting near circulation areas, downlighting from suitable elevated locations, and selected accent lighting on trees or architectural features. Darker planting zones between illuminated elements create visual depth. Controls can also reduce output later at night when activity decreases. DarkSky recommends using controls so exterior lighting can be dimmed or switched off when it is no longer needed.
Case Study 3: Solving Pathway and Step Lighting Problems
Path lighting deserves close attention in project galleries because fixture spacing has a major effect on the finished appearance. Closely spaced fixtures can create repeated pools of light that resemble runway markers. Fixtures positioned too far apart may leave uncomfortable dark gaps around grade changes.
Good pathway lighting responds to the route rather than following a rigid spacing formula. Curves, planting beds, elevation changes, intersections, and adjacent ambient light affect placement. The fixture should illuminate the walking surface without placing an exposed light source directly in a person's normal line of sight.
Steps require equally careful treatment. Recessed lights, shielded fixtures, integrated hardscape lighting, or strategically placed downlights may work depending on the construction. A case study should show the stairs from the direction people actually approach them. That viewpoint reveals far more about visual comfort than a close-up photograph of the fixture.
Case Study 4: Using Trees as Nighttime Architecture
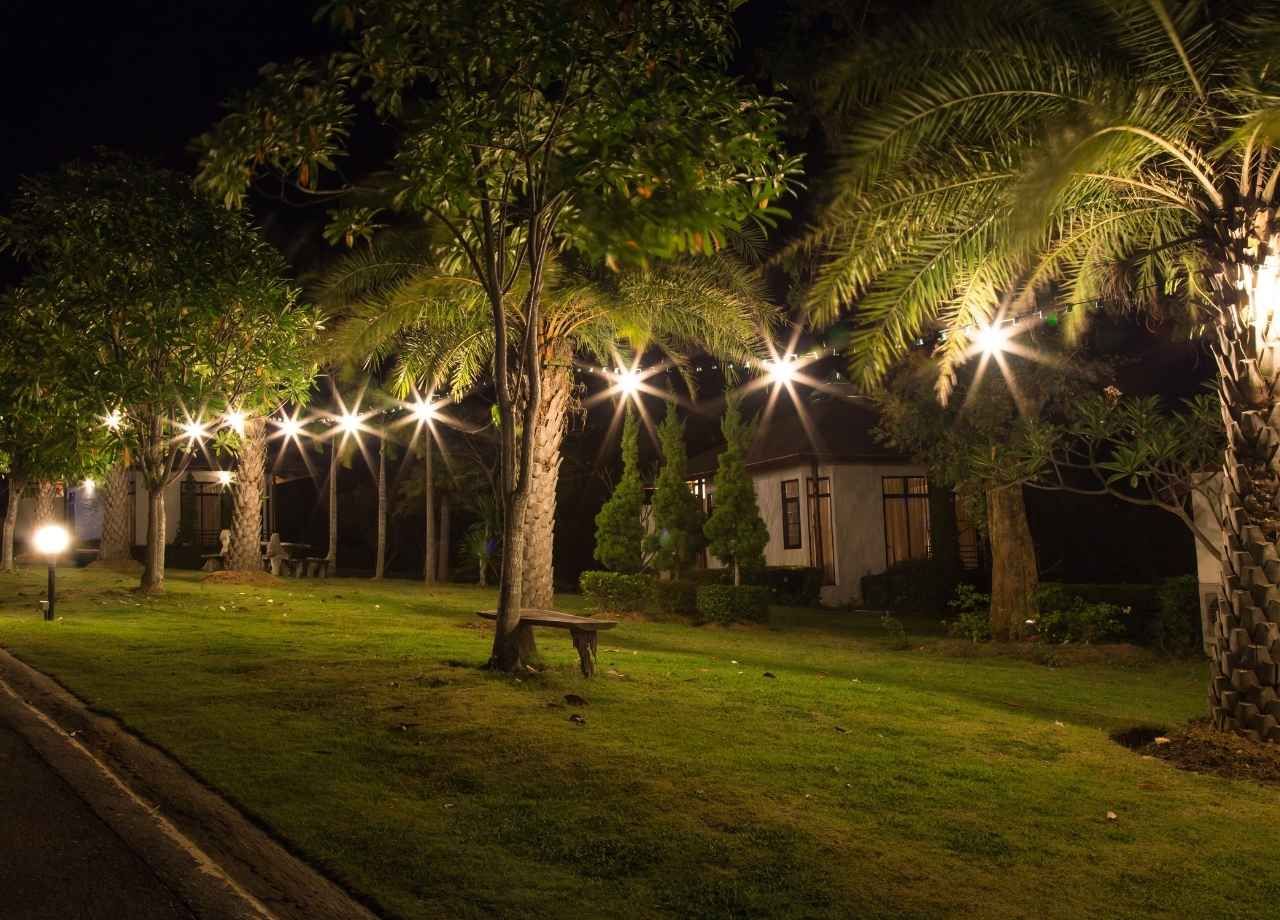
Mature trees often become the strongest visual elements in a landscape after dark. Their trunks, branching structure, canopy density, and leaf texture create opportunities for uplighting, cross-lighting, grazing, or downlighting.
Fixture selection should follow the tree rather than treating every specimen alike. A tall palm requires a different beam pattern and aiming strategy than a wide live oak. A narrow beam may emphasize height, whereas a broader distribution can reveal canopy structure. Multiple carefully controlled fixtures may be needed for a large tree, but adding fixtures simply to increase brightness rarely improves the scene.
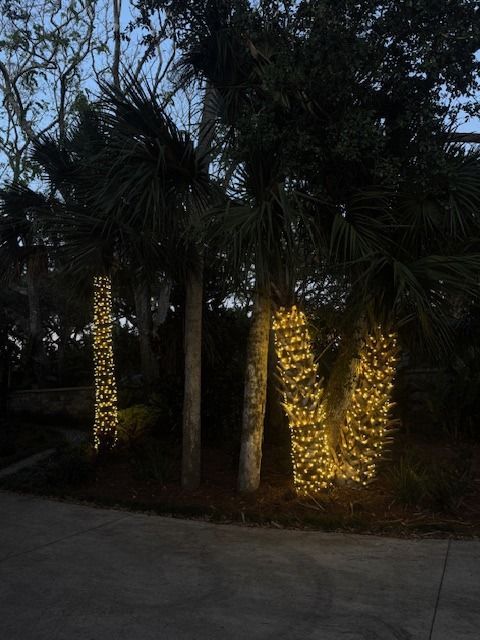
Downlighting can create a softer effect when suitable mounting locations are available. Light passing through branches can cast natural shadow patterns onto lawns and paving. Project photography taken from several viewing positions helps show whether the tree feels integrated with the property or appears as an isolated bright object.
Color Temperature Can Change the Entire Project
Color temperature is one of the easiest differences to spot when comparing case studies. Cooler white light can make warm brick, wood, stone, and planting material look noticeably different from warmer LED sources.
Residential landscape lighting commonly benefits from warm color temperatures because they tend to complement natural materials and create less visually aggressive nighttime scenes. DarkSky's current residential guidance recommends 3000K or lower for home outdoor lighting, and its home assessment material recommends 2700K or lower for particularly night-friendly applications.
Consistency matters too. Mixing unrelated color temperatures across a facade can make a project appear disconnected unless the contrast is intentional. Gallery images should therefore be judged for color continuity across architectural lights, landscape fixtures, porch lighting, and other visible sources.
Florida Coastal Projects Need Additional Lighting Decisions
Coastal lighting projects can involve requirements that go beyond ordinary residential landscape design. Properties near sea turtle nesting beaches need special attention to fixture visibility, wavelength, mounting height, shielding, and local requirements.
Florida Fish and Wildlife Conservation Commission guidance uses three central principles for wildlife-friendly lighting near nesting beaches: keep lighting low, use long-wavelength sources, and keep fixtures shielded. FWC defines qualifying long-wavelength sources as greater than 560 nanometers and identifies amber, orange, and red LEDs as appropriate options when they meet the required criteria. Fixtures should also prevent the lamp or glowing lens from being directly visible from the beach.
That makes location-specific planning important for Northeast Florida projects. A lighting approach suitable for an inland Jacksonville property should not automatically be copied onto a beachfront site.
Why Before-and-After Photos Matter
Finished nighttime photographs show aesthetics, but before-and-after comparisons explain the design problem. A strong case study might show a front entrance that previously disappeared after sunset, steps that were difficult to distinguish, or a large backyard that felt visually empty beyond the patio.
The after image should then show how lighting addressed those specific conditions. More brightness is not automatically evidence of improvement. Better beam control, stronger visual hierarchy, reduced glare, clearer circulation routes, and greater depth are more meaningful indicators.
Daytime photographs also have value. They reveal how visible the fixtures, wire routes, mounting hardware, and disturbed planting areas are when the system is off. Professional landscape lighting needs to work at night without becoming a visual distraction during the day.
Maintenance Should Be Part of Every Case Study
Outdoor lighting changes after installation. Plants grow, mulch gets replaced, tree canopies become denser, irrigation systems shift, soil settles, and fixtures can be bumped during landscape maintenance. A design that looked properly aimed during commissioning may need adjustment months later.
Quality project documentation should consider access to fixtures and future service needs. Connections, transformers, controls, fixture construction, and placement all affect long-term reliability. Coastal environments deserve extra attention because moisture, salt exposure, drainage, and corrosion can shorten the service life of poorly selected components.
Maintenance photography can be especially informative. Comparing the original installation with the property a year or two later shows whether fixture locations still make sense as vegetation matures.
What a Strong Outdoor Lighting Case Study Should Prove
A valuable case study connects design decisions to visible results. Readers should be able to understand why a fixture was positioned in a certain location, why one tree was illuminated and another left dark, why a particular beam spread was chosen, and how glare was controlled from important viewing areas.
Technical restraint is often what separates refined lighting from excessive lighting. Current DarkSky certification criteria emphasize limiting uplight, avoiding glare and over-lighting, using dimming or controls, and reducing short-wavelength light. Those principles provide useful benchmarks when studying residential and commercial project galleries.
The best outdoor lighting gallery is ultimately a collection of solved design problems. Study where the light lands, where it stops, how brightness changes across the property, and whether the illuminated areas support the way people actually use the space. Those details reveal far more about lighting quality than fixture count or nighttime brightness alone.