What to Expect From Your Outdoor Lighting Consultation, Design and Installation
A professionally designed outdoor lighting system starts long before a fixture goes into the ground. Good results depend on understanding how the property is used after sunset, deciding what deserves attention, controlling glare, planning electrical loads, and positioning fixtures so the lighting feels natural rather than excessive.
Homeowners considering outdoor lighting often know the result they want but may not know what happens between the first consultation and the finished nighttime scene. A professional process typically moves through three connected stages: consultation, lighting design, and installation. Each stage answers different questions and prevents decisions made early in the project from creating problems later.
Aloha Outdoor Lighting follows this type of design-led approach for outdoor lighting projects in Jacksonville, with solutions planned around the architecture, landscaping, nighttime use, energy efficiency, and conditions found on the property.
What Happens During an Outdoor Lighting Consultation?
The consultation is primarily an evaluation of the property and your goals. A lighting designer needs to understand what you want to accomplish before deciding where fixtures belong.
Expect to walk the property and discuss areas that currently feel too dark, architectural features you want visible at night, pathways that need better visibility, outdoor entertaining areas, entrances, trees, gardens, pools, fences, and other features that could affect the design.
The designer should also ask how you use the property. A backyard used regularly for dinners and gatherings needs a different lighting plan from a landscape mainly viewed from inside the house. A front yard may need enough illumination for steps and walkways without producing a bright commercial appearance.
Existing conditions matter too. Mature trees can provide mounting locations for downlighting, dense planting beds can hide fixtures, and rooflines or architectural elements may create opportunities for lighting from above. Irrigation systems, drainage areas, future landscaping, lawn maintenance, and existing electrical infrastructure can affect fixture and cable placement.
This is also the right stage to discuss preferences. Some homeowners prefer a quiet, understated appearance. Others want stronger architectural accents or more dramatic tree lighting. Showing the designer areas you like and areas you do not want emphasized helps establish the direction before equipment is selected.
The Property Is Evaluated Differently After Dark
Outdoor lighting design is unusual because the project is installed during daylight but judged at night. Daytime conditions can hide problems that become obvious once fixtures are operating.
A designer considers where people will see the light from, not just where fixtures can physically fit. Important viewing positions may include the street, driveway, front entrance, patio, pool deck, outdoor kitchen, interior windows, and neighboring properties.
Direct glare is one of the biggest issues a careful design tries to prevent. A fixture can illuminate a tree beautifully from one angle yet expose the LED source to someone sitting on a patio. Fixture location, shielding, beam spread, mounting height, and aiming all influence whether the light feels comfortable.
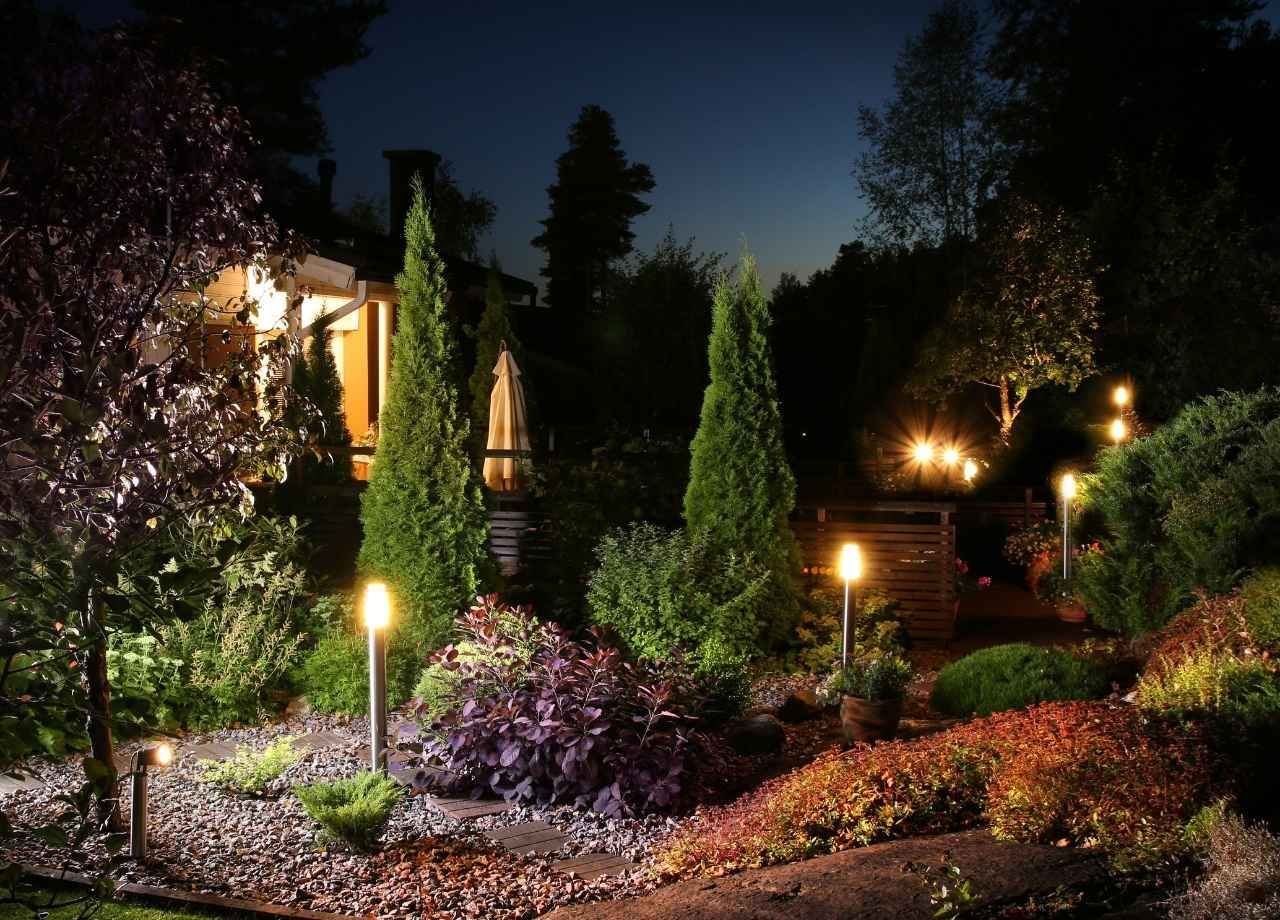
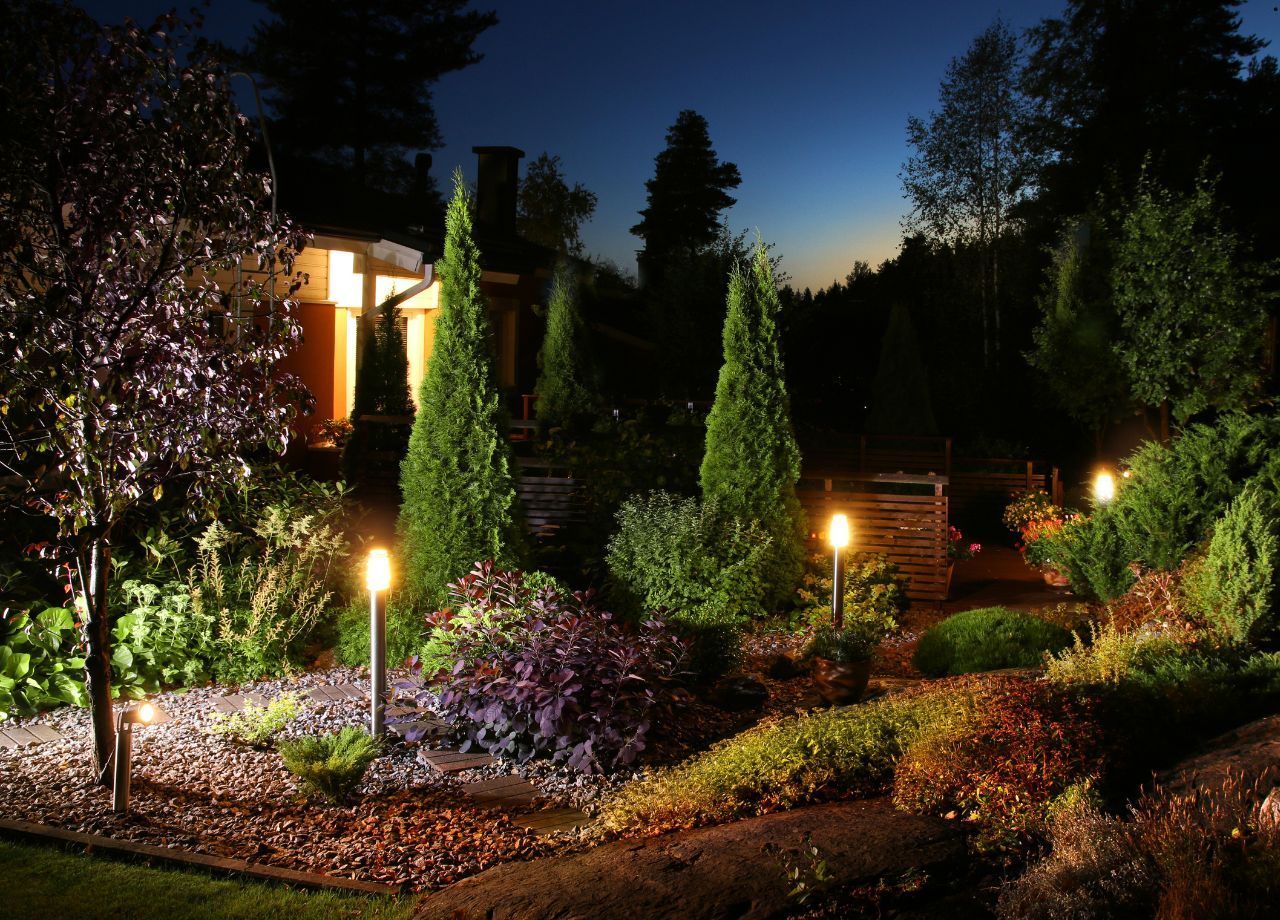
Designers also study darkness. Lighting every object at the same intensity usually produces a flat scene. Leaving darker spaces between selected features creates separation and allows illuminated trees, walls, planting beds, and architectural details to stand out.
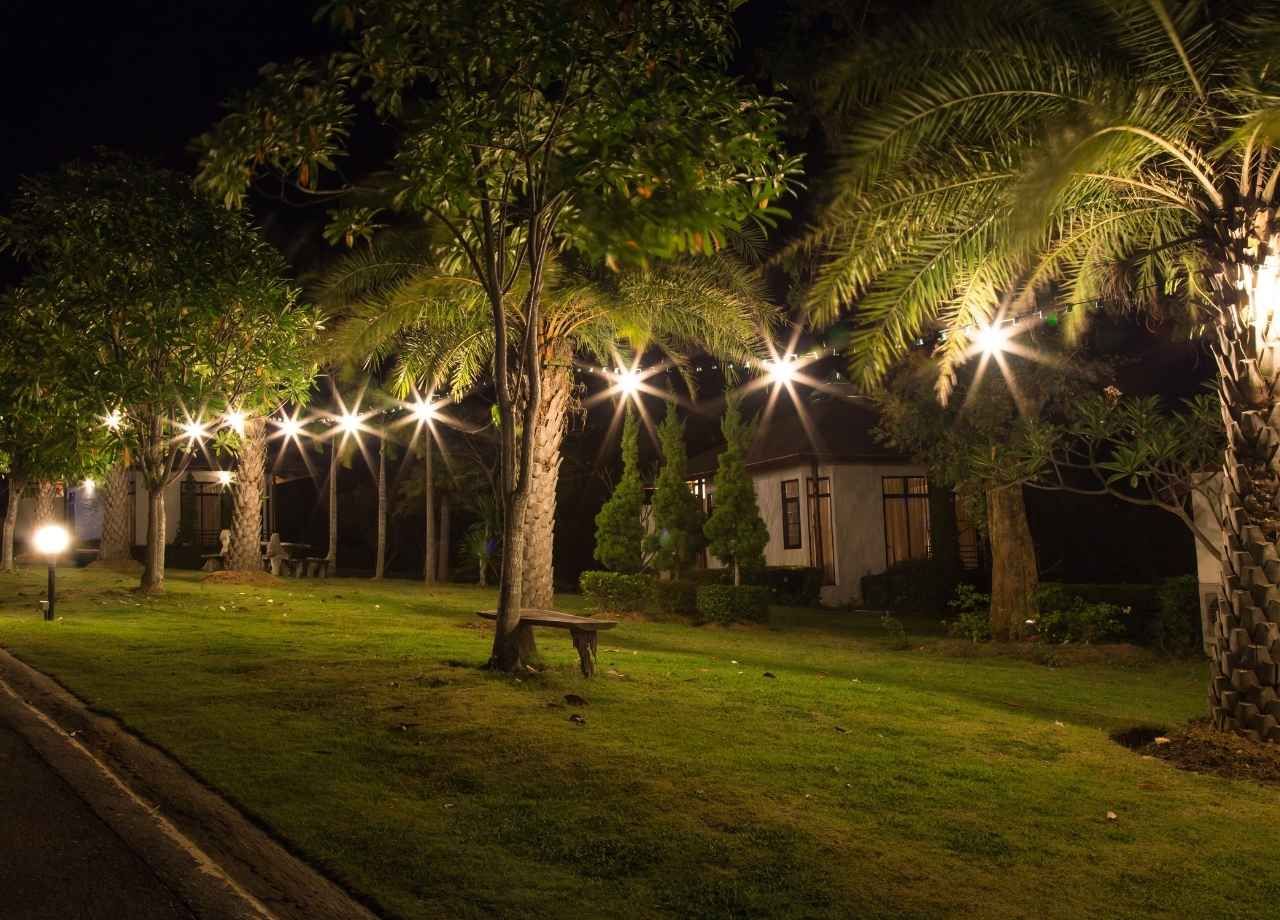
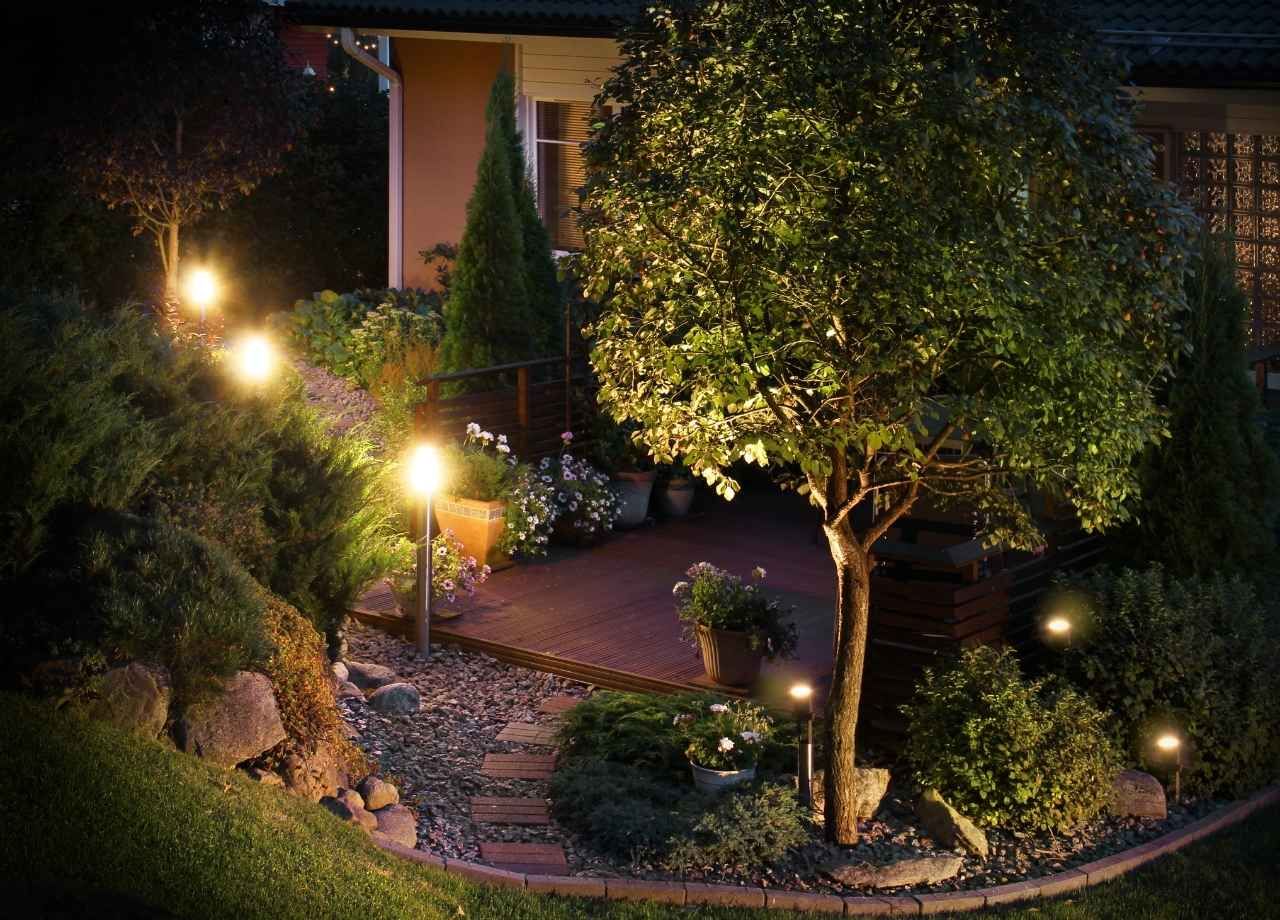
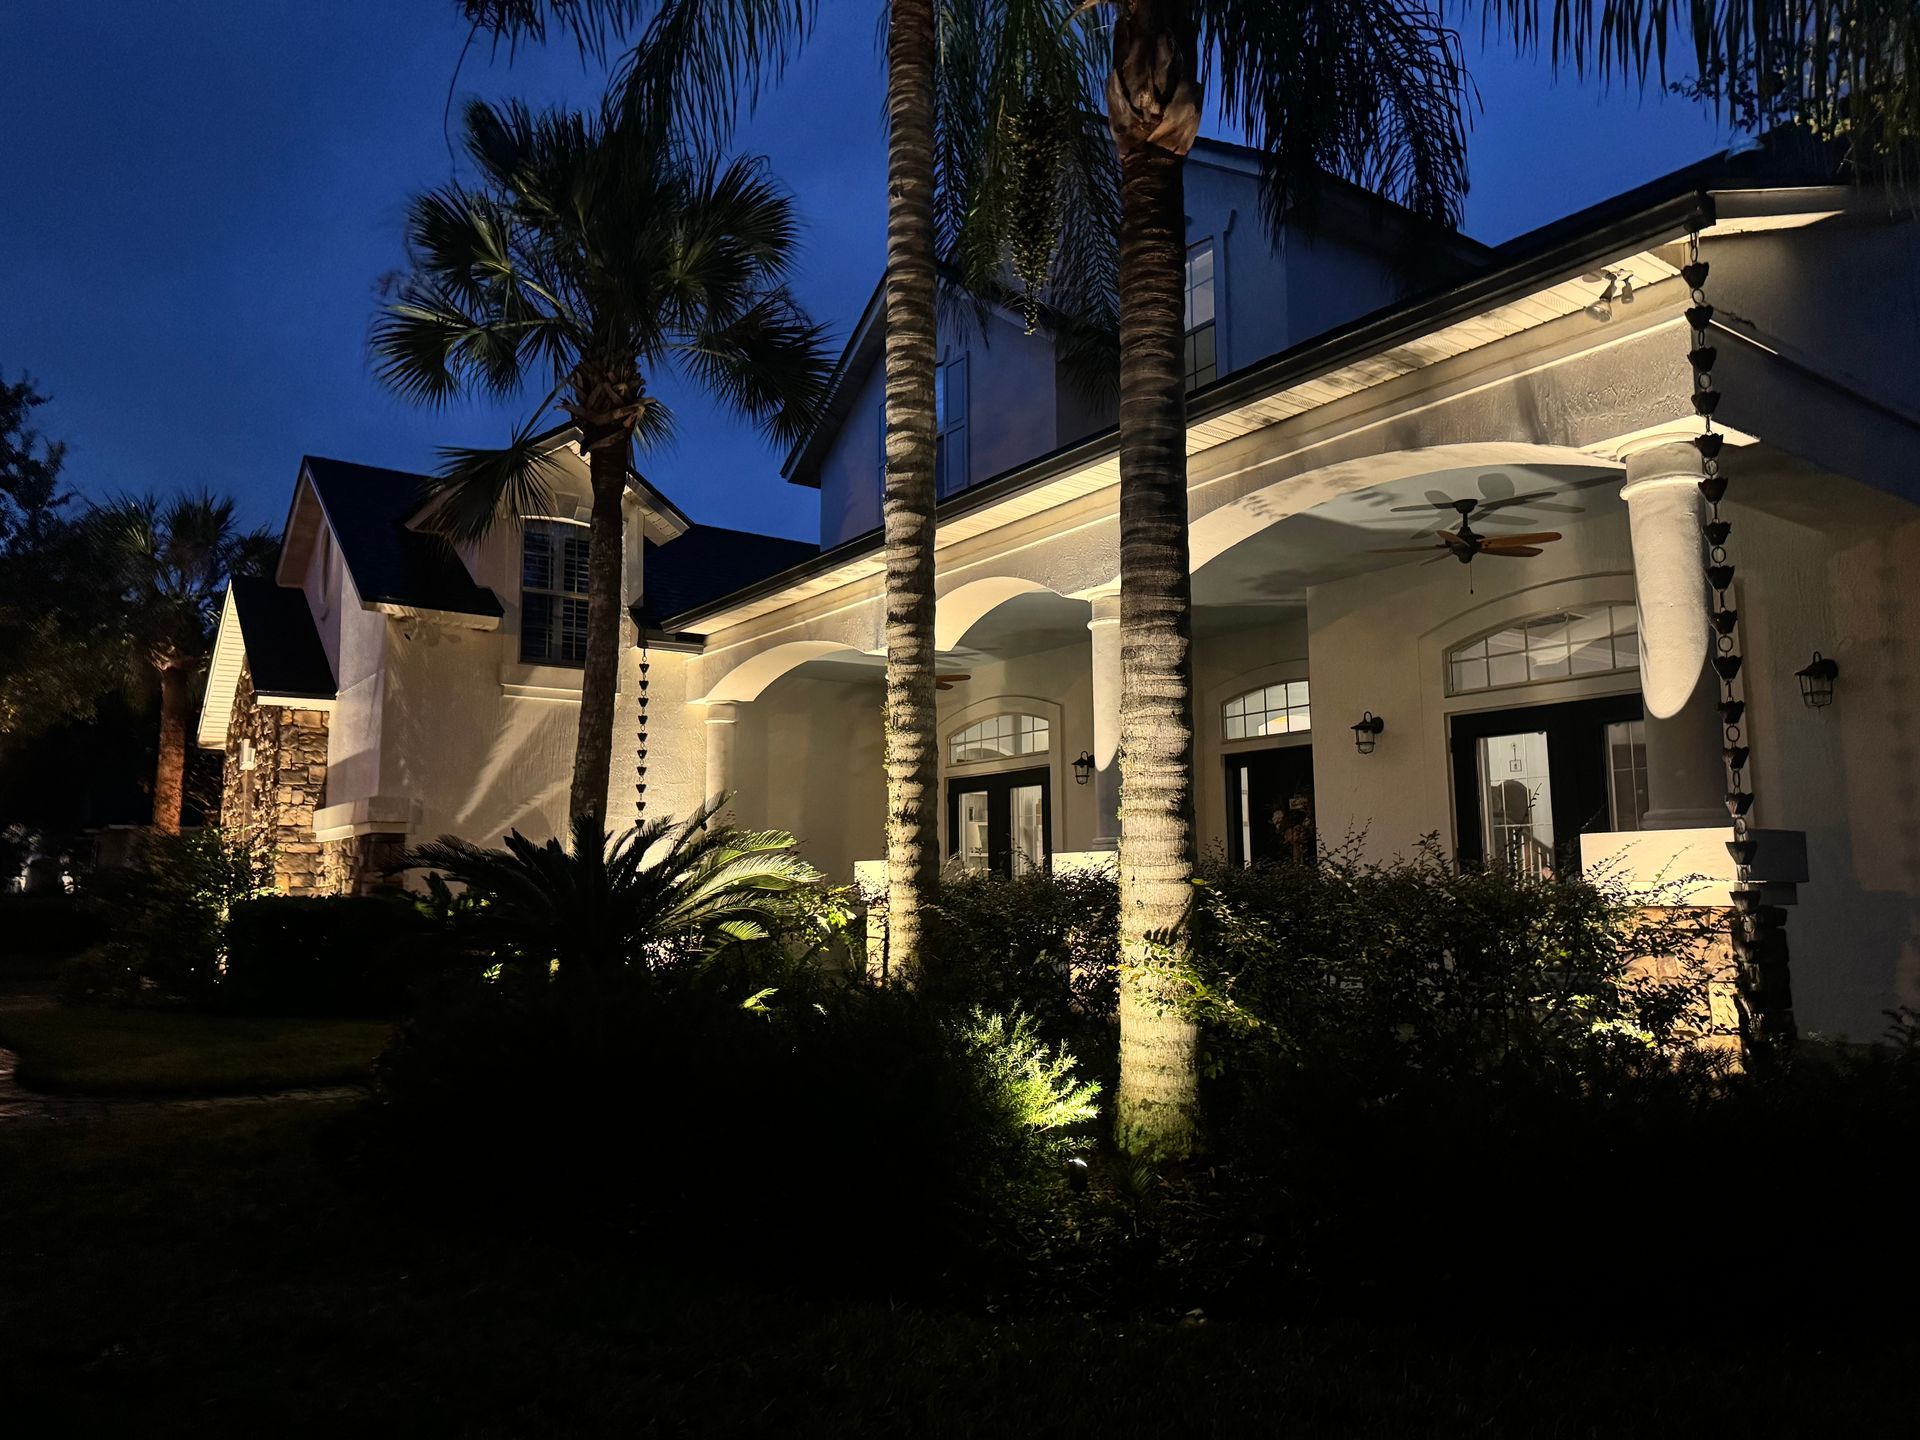
Professional lighting design uses techniques including uplighting, downlighting, silhouetting, grazing, path lighting, and task lighting. Each creates a different visual effect. Downlighting from a suitable tree or architectural location, for example, can produce soft illumination across a larger area, whereas a narrow uplight can emphasize the trunk and canopy of a specimen tree.
Turning the Consultation Into a Lighting Design
Once the property and goals are understood, the designer develops a fixture plan. This is where outdoor lighting becomes more technical.
Fixture selection is based on what the light needs to accomplish. Beam angle, lumen output, color temperature, shielding, fixture finish, mounting method, and adjustability matter more than simply choosing fixtures by appearance.
A narrow beam may be appropriate for a tall palm, column, or narrow architectural feature. A broader beam can work better across a wide tree canopy or wall surface. Path fixtures should spread usable light onto the walking surface without placing an exposed light source directly in a person’s field of view.
Spacing also requires judgment. Path lights placed in a rigid row can make a residential walkway resemble a runway. Staggering fixtures and designing around the actual light distribution often creates a softer result. Professional design guidance also recommends shielding path-light sources from direct view.
Color temperature deserves similar attention. The goal is usually consistency and compatibility with the home's exterior materials and landscape. Very cool light can make warm stone, brick, wood, and planting areas appear harsh. Mixing noticeably different color temperatures without a design reason can also make the property look disconnected.
Planning the Electrical System Before Installation
Fixture placement is only the visible part of the design. Cable routes, transformer capacity, electrical loads, voltage, controls, and future expansion have to be planned as well.
Most residential landscape systems use low-voltage equipment. The transformer takes standard household line voltage and supplies the lower voltage used by the landscape lighting system. Current LED fixtures require far less wattage than older halogen systems, making it possible to create substantial lighting effects without a large electrical load.
Transformer sizing should not be based solely on today's fixture count. Capacity, manufacturer requirements, circuit loading, wire length, and possible future additions should be considered before equipment is chosen. One current manufacturer guideline recommends keeping connected fixture wattage at or below 80 percent of transformer capacity.
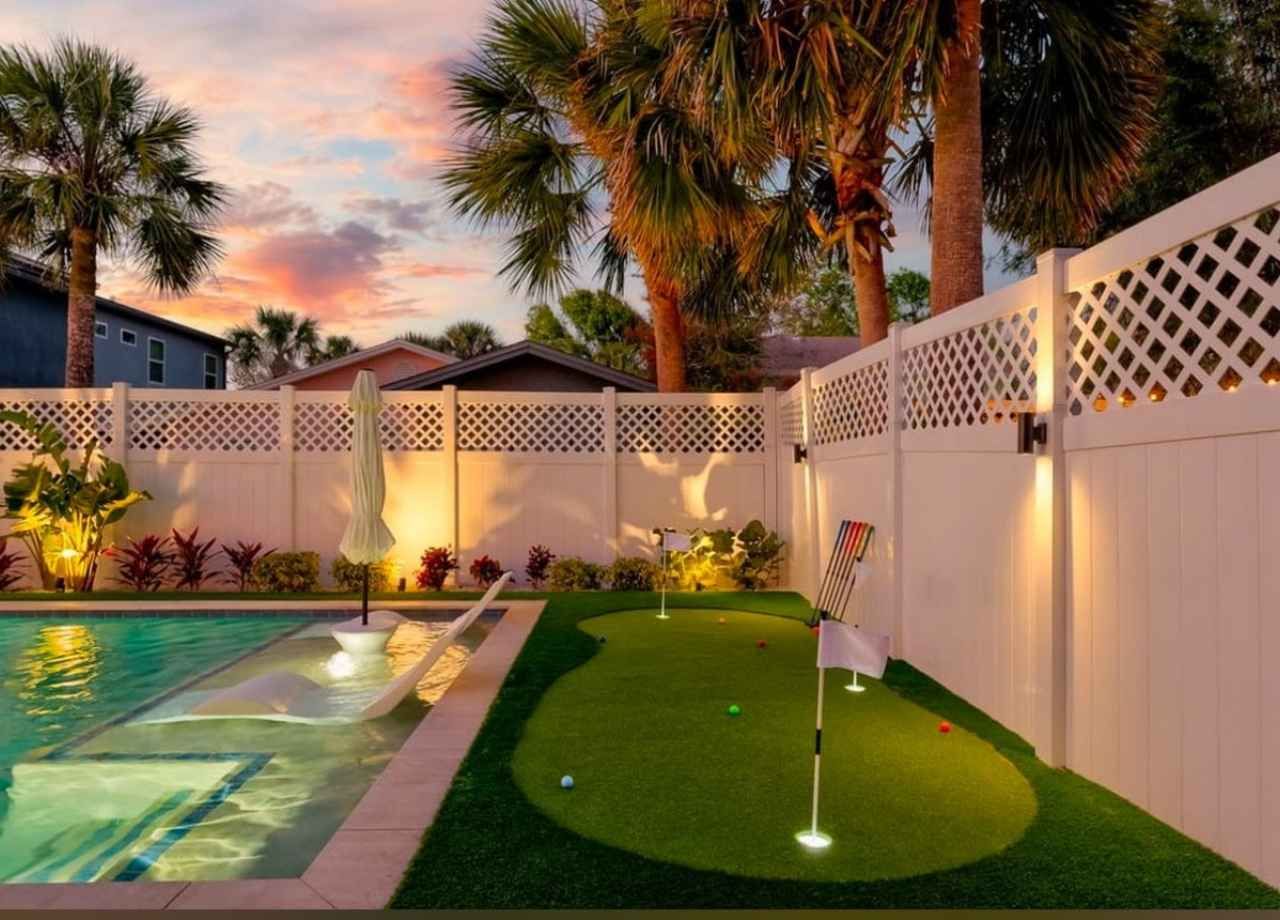
Voltage drop must also be considered on longer cable runs. Cable gauge, distance, fixture load, wiring layout, and transformer taps affect the voltage reaching the fixtures. A properly planned system groups and routes circuits so fixtures operate within their specified voltage range instead of relying on guesswork.
Modern controls can add timers, photocells, zoning, or smart control options depending on the equipment. Separating areas into useful zones can allow front-yard lighting, backyard lighting, or entertaining areas to operate on different schedules when desired.
What Happens on Installation Day?
Installation starts by translating the design onto the actual property. Fixture locations may be marked first so the crew can confirm placement before cable is buried.
Installers then establish cable routes, position fixtures, mount or place the transformer, make weather-resistant connections, and connect the individual lighting zones. Cable routes should account for landscaping, irrigation, roots, hardscape, drainage, and areas likely to be disturbed by routine yard work.
Care around existing landscaping is important. A professional installation should minimize unnecessary disturbance to planting beds and turf while keeping connections accessible enough for future servicing.
Local requirements also need to be checked for the particular project. Jacksonville currently enforces the Florida Building Code 8th Edition (2023), and work regulated by applicable electrical or building codes may require permits or inspections. City guidance also identifies separate requirements for certain work affecting public rights of way or easements.
The exact requirements depend on the scope and location, so permitting should be confirmed for the specific installation rather than assumed.
Nighttime Aiming Is Where the Design Comes Together
Turning the system on does not mean the job is finished. Precise nighttime adjustment is one of the most important stages of a professional installation.
Fixtures installed during daylight usually need aiming after sunset. The installer can then see where each beam actually lands, whether a fixture produces glare, whether two beams overlap awkwardly, or whether an architectural feature needs a wider or narrower distribution.
Small adjustments can produce major visual changes. Moving a fixture slightly farther from a wall changes the beam pattern. Adjusting the angle of an uplight changes how much of a tree canopy becomes visible. Repositioning a path light can improve walking visibility without increasing brightness.
This stage is also when the overall balance is evaluated. One tree should not unintentionally overpower the entrance, and pathway lighting should not compete with architectural lighting. The property should read as one connected nighttime scene rather than a collection of bright objects.
What You Should Review Before the Project Is Complete
A final walkthrough should explain how the system operates and what future maintenance may involve. Homeowners should know where the transformer and controls are located, how schedules are changed, which areas are assigned to each zone, and how manual overrides work if they are available.
Fixture positions should also be reviewed after dark whenever possible. Plants grow, landscapes change, and seasonal pruning can alter lighting effects. Adjustable landscape fixtures may eventually need to be re-aimed as trees and shrubs mature.
Outdoor lighting is exposed to irrigation, soil, mulch, lawn equipment, storms, vegetation, insects, and Florida's demanding outdoor environment. Periodic cleaning, connection checks, fixture straightening, pruning around beams, and nighttime re-aiming help preserve the original design.
A successful consultation, design, and installation process should leave you with more than lights around the yard. You should understand why fixtures were placed where they are, how the electrical system supports them, how the controls operate, and how the design will adapt as the property changes.
That planning is what separates a carefully designed outdoor lighting system from simply placing fixtures wherever darkness happens to exist.