How to Install Outdoor Accent Lighting
Outdoor accent lighting has shifted far beyond basic pathway fixtures and motion lights. Homeowners now expect layered lighting that adds depth, improves nighttime visibility, and highlights architectural details and landscaping with precision. A proper installation blends electrical knowledge, lighting design principles, and site-specific planning. This guide walks through the full process the same way a seasoned outdoor lighting professional approaches a project, from planning and fixture selection to wiring, placement, and long-term performance.
Early in the process, many homeowners choose to consult a professional designer or installer for layout planning or system integration. Companies like Aloha Outdoor Lighting often assist with design guidance or full installation, especially when properties include complex landscapes or architectural features.
Understanding the Purpose of Outdoor Accent Lighting
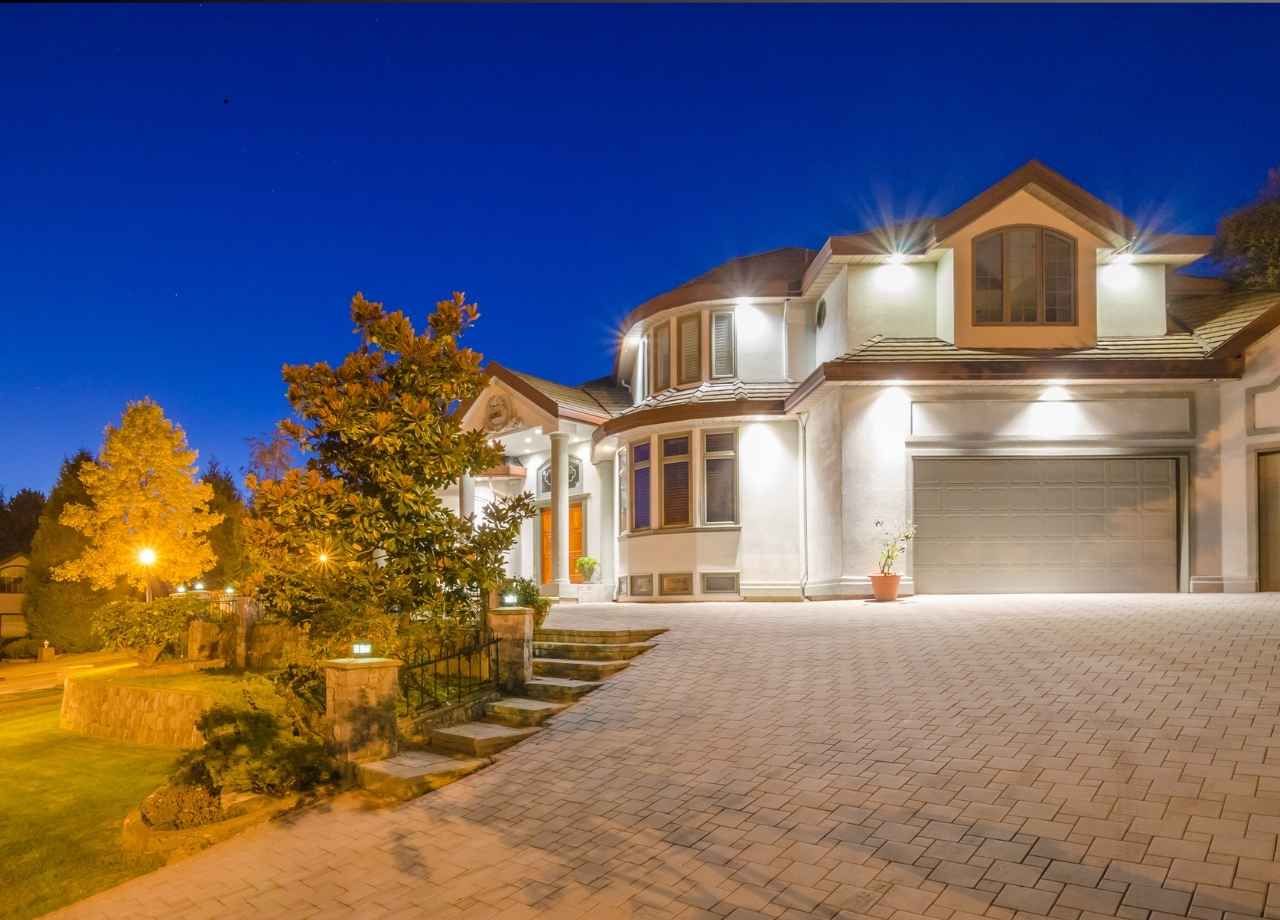
Outdoor accent lighting serves a different role than general illumination. The goal focuses on directing attention rather than flooding an area with brightness. Proper accent lighting adds contrast, depth, and visual hierarchy after sunset.
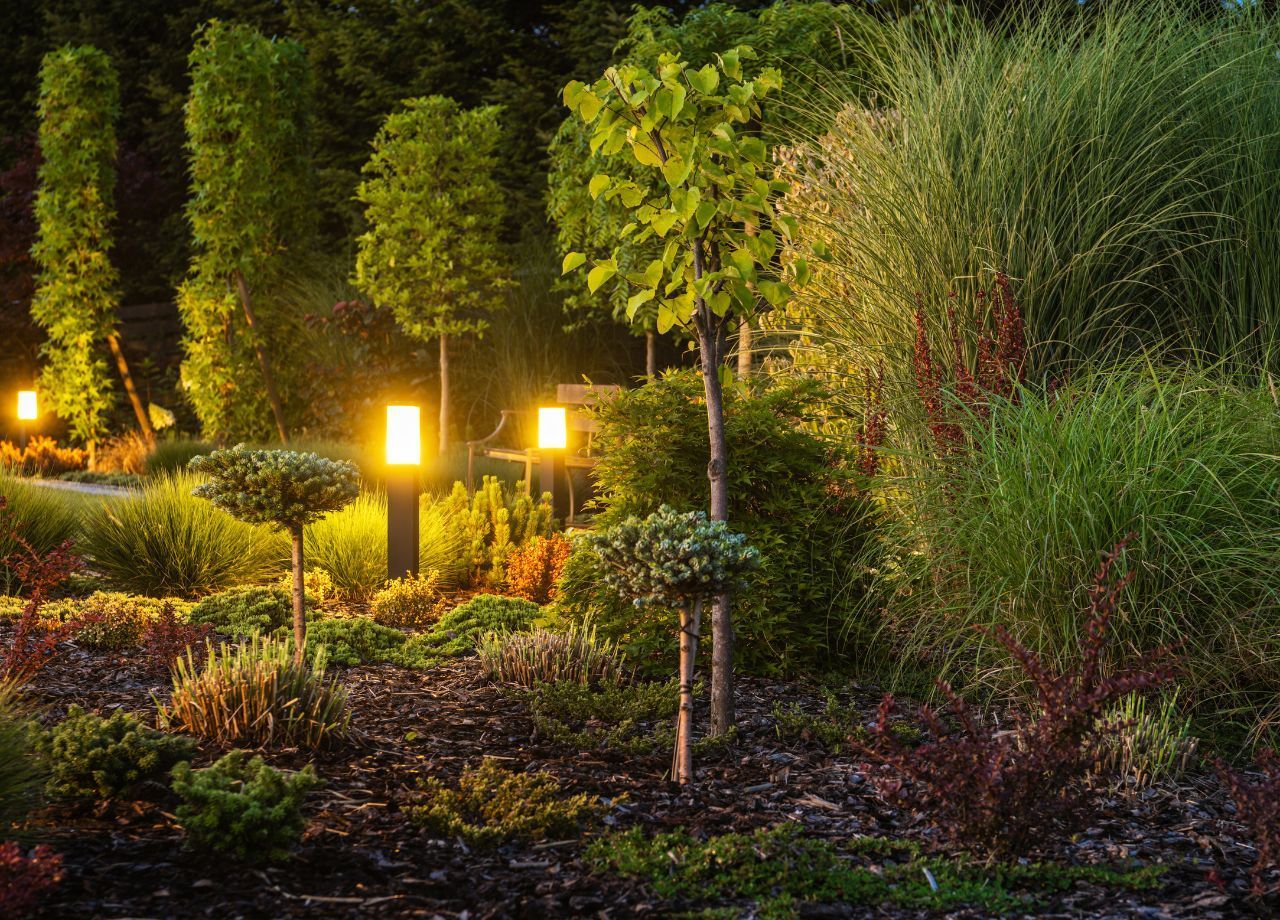
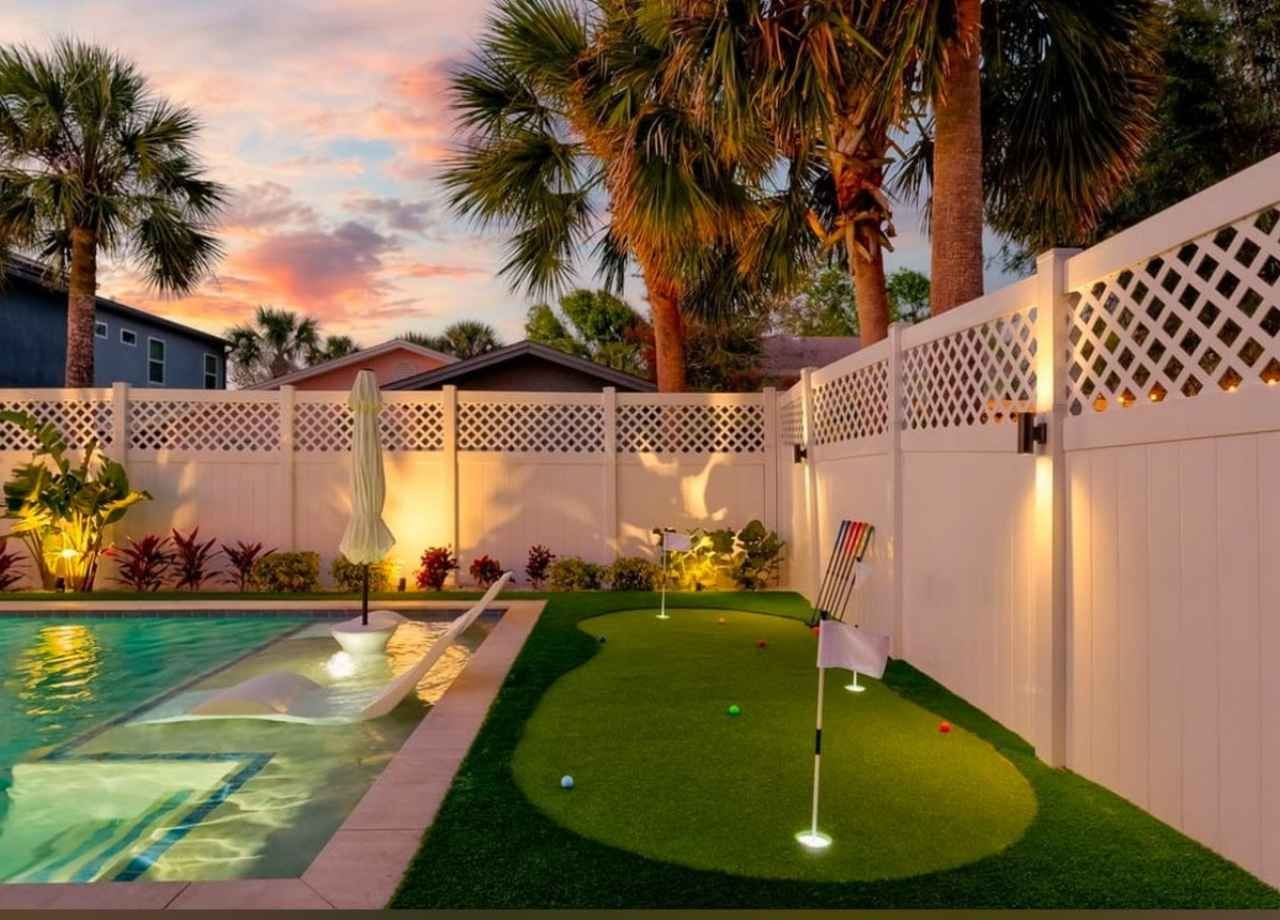
Trees, textured walls, columns, water features, and architectural details respond well to controlled light placement. Accent lighting also increases usable outdoor space during evening hours by guiding movement and subtly defining boundaries without overpowering the environment.
Successful installations rely on restraint. Too many fixtures or excessive brightness flattens the landscape and eliminates visual interest. Professional-grade installations prioritize selective illumination, thoughtful beam angles, and balanced light levels.
Planning the Lighting Layout Before Installation
Planning determines whether an outdoor lighting system feels intentional or scattered. A walkthrough of the property after dark offers valuable insight into natural sightlines, shadow zones, and focal points.
Key elements to evaluate include elevation changes, tree canopy height, surface textures, and viewing angles from interior windows. Accent lighting should look just as intentional from inside the home as it does from the yard.
Power access also plays a role at this stage. Low-voltage systems typically connect to a central transformer mounted near an exterior outlet. Mapping cable paths before digging prevents unnecessary trenching and reduces future maintenance issues.
Sketching the layout with fixture locations, beam directions, and wire runs helps avoid last-minute adjustments that compromise results.
Selecting the Right Fixtures for Accent Lighting
Fixture selection impacts performance, longevity, and visual quality. Outdoor accent lighting typically relies on low-voltage LED fixtures designed for directional output.
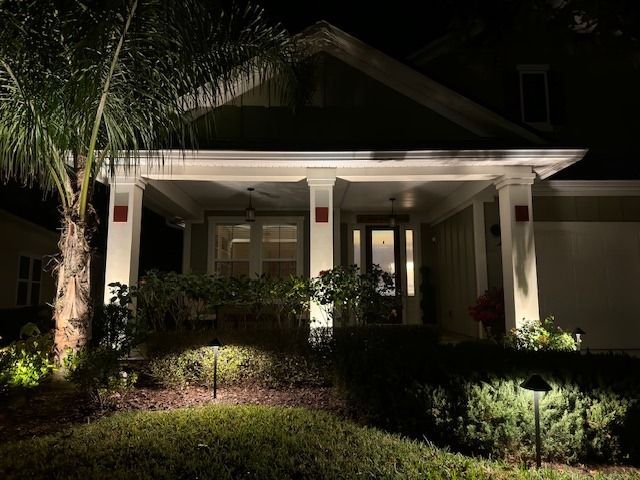
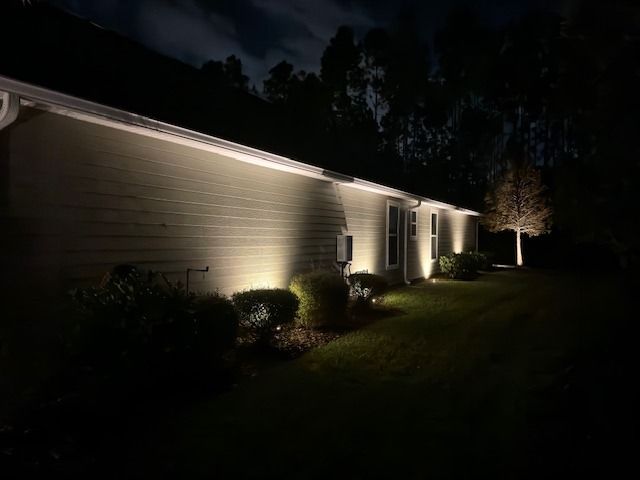
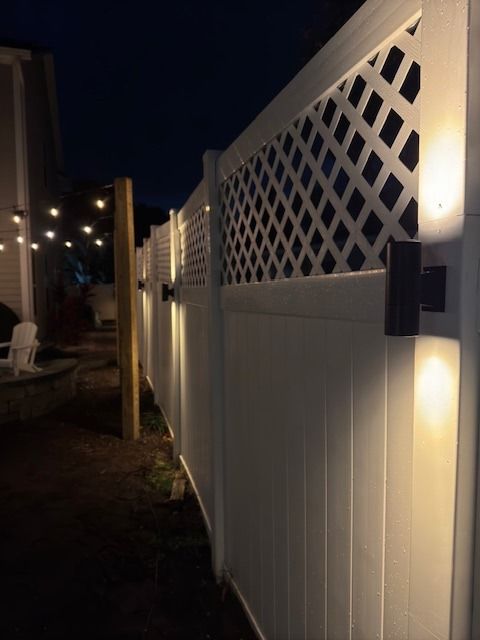
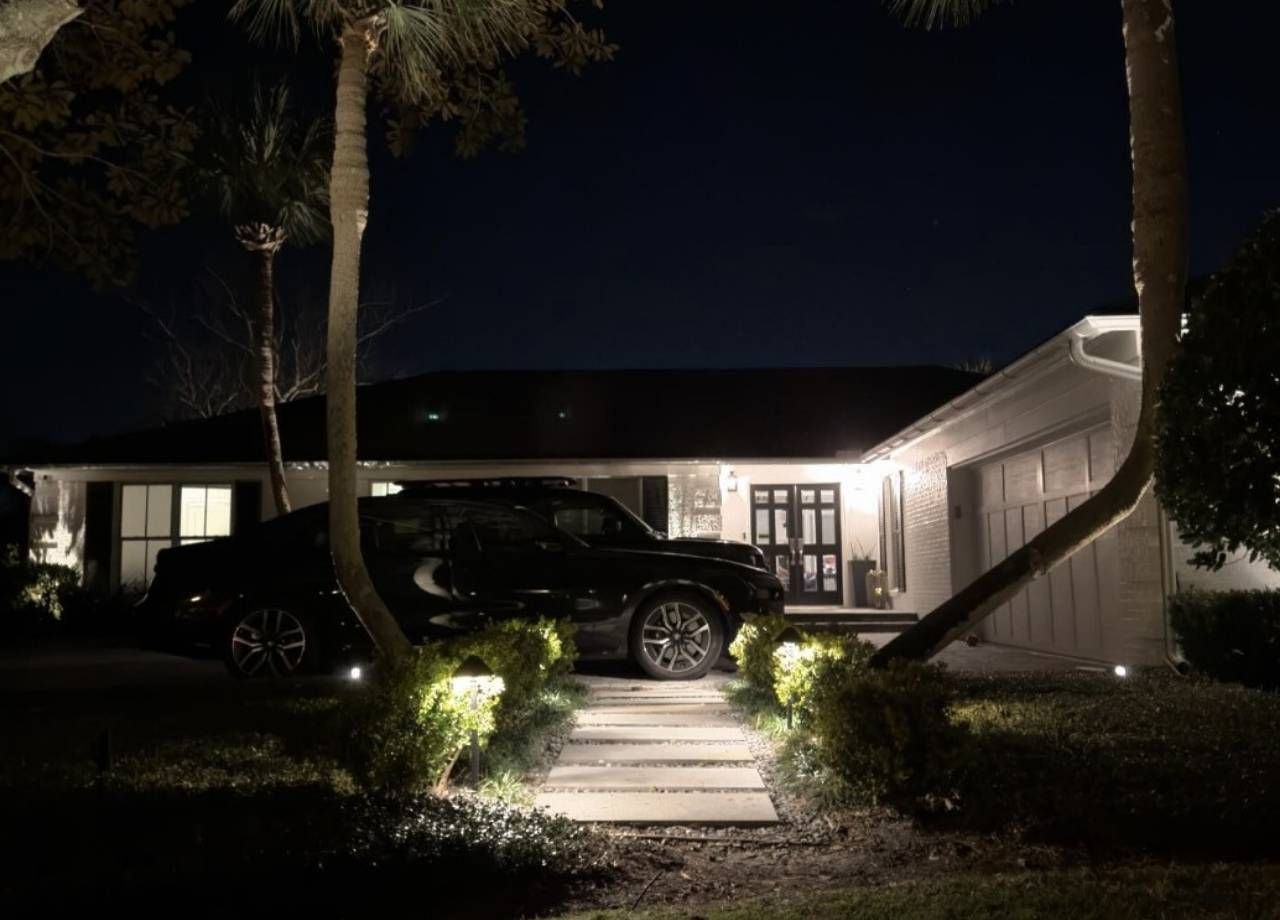
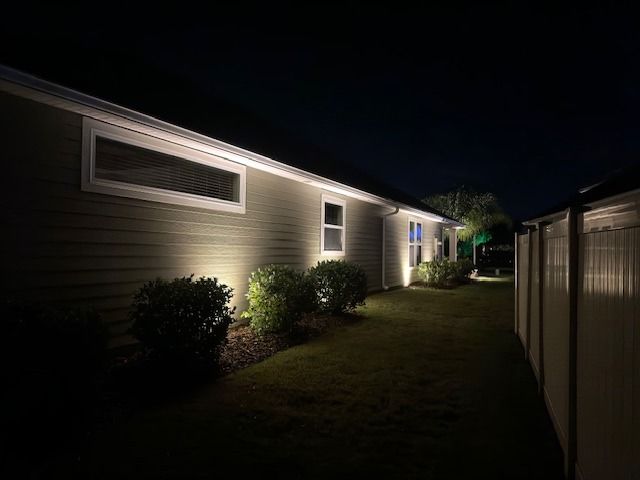
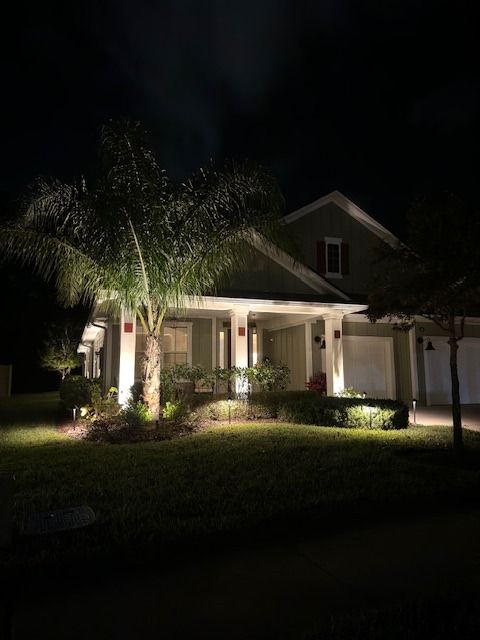
Uplights work well for trees, columns, and tall architectural features. Downlights, often mounted high in trees or under eaves, create soft moonlighting effects that reduce glare. Well lights sit flush with the ground and highlight vertical elements when space or aesthetics limit fixture visibility.
Material quality matters. Solid brass or copper fixtures resist corrosion and weather exposure far better than aluminum or plastic options. Integrated LED modules offer long lifespans and stable color output, reducing maintenance over time.
Color temperature also requires attention. Warm white light between 2700K and 3000K complements natural materials and residential architecture. Cooler temperatures often appear harsh outdoors and detract from the overall ambiance.
Understanding Low-Voltage Wiring and Power Requirements
Most outdoor accent lighting systems operate on low voltage, typically 12 volts. A transformer converts standard household voltage into a safe, manageable output suitable for landscape applications.
Transformer sizing depends on total wattage load. Each fixture wattage adds to the system demand, and capacity should allow headroom to prevent overheating or voltage drop. Professionals usually design systems to operate at no more than 80 percent of transformer capacity.
Wire gauge selection plays a major role in consistent brightness. Longer cable runs require thicker wire to minimize voltage loss. Incorrect wire sizing leads to uneven light levels, where fixtures closer to the transformer appear brighter than those farther away.
Connections must remain watertight. Silicone-filled wire connectors rated for direct burial protect against moisture intrusion and corrosion.
Preparing the Installation Area
Proper preparation reduces installation time and protects landscaping. Marking fixture locations with flags or stakes allows adjustments before any digging begins.
Trenching for low-voltage cable usually requires shallow cuts, often six inches or less depending on local code. Trenches should follow natural edges, mulch lines, or planting beds to remain hidden after backfilling.
Soil composition affects stability. Sandy soil may require compacting around fixtures to prevent shifting, while clay soil needs careful handling to avoid water pooling around housings.
Taking time at this stage prevents uneven fixtures and visible wiring once the system is operational.
Installing Accent Lighting Fixtures Correctly
Fixture installation focuses on precision rather than speed. Each light should be placed with its beam angle and spread in mind before final securing.
Uplights benefit from slight offsets rather than direct center placement at trees or walls. Angling fixtures away from the trunk or surface reduces glare and creates more natural shadowing. Downlights should remain concealed within foliage or architectural elements to maintain visual comfort.
Ground-mounted fixtures require secure anchoring. Stakes must penetrate stable soil to prevent movement during rain or seasonal changes. Well lights need gravel bases for drainage, preventing water accumulation around the lens.
Once fixtures are positioned, wiring connections should remain accessible until nighttime testing confirms proper aiming.
Aiming and Adjusting Light Output After Dark
Accent lighting adjustments should always occur at night. Daytime alignment rarely translates accurately once darkness reveals shadows and contrast.
Subtle adjustments make a significant difference. Rotating a fixture a few degrees can soften harsh highlights or eliminate glare visible from windows or seating areas.
Layering light improves depth. Combining uplights with softer fill lighting prevents overly dramatic contrasts. Professionals often step back repeatedly during this phase, viewing the scene from multiple angles to ensure balance.
Locking fixtures into place only happens after final adjustments meet both aesthetic and functional goals.
Setting Up Timers and Smart Controls
Modern outdoor accent lighting systems benefit from automated controls. Timers ensure consistent operation without manual intervention. Astronomical timers adjust automatically based on sunset and sunrise, adapting throughout the year.
Smart transformers allow remote control via mobile apps. Users can create schedules, adjust brightness levels, or activate lighting scenes for special occasions.
Control placement should remain accessible while protected from weather. Proper setup simplifies daily operation and improves energy efficiency without sacrificing visual impact.
Testing System Performance and Safety
Final testing confirms electrical integrity and visual performance. Each fixture should receive equal voltage within acceptable tolerance ranges.
Inspect wire connections for heat buildup, moisture exposure, or loose fittings. Transformer output settings may require adjustment to balance brightness across longer cable runs.
Safety checks include verifying GFCI protection at the power source and confirming cables remain buried and secure. These steps reduce risk and extend system lifespan.
Maintaining Outdoor Accent Lighting Over Time
Outdoor lighting systems perform best with periodic maintenance. Seasonal inspections catch issues caused by plant growth, soil movement, or weather exposure.
Lens cleaning improves light clarity and prevents buildup that dulls output. Fixture re-aiming keeps trees and structures properly highlighted as landscapes mature.
LED technology minimizes bulb replacement, though drivers and connections still require monitoring. Addressing small issues early prevents larger system failures later.
When Professional Installation Makes Sense
Certain properties present challenges that exceed standard DIY installations. Complex landscapes, large estates, waterfront properties, or homes with extensive architectural detail benefit from professional design and installation.
Experienced installers understand beam optics, voltage management, and long-term durability in real-world conditions. Professional planning also avoids common mistakes that lead to glare, uneven brightness, or premature component failure.
Outdoor accent lighting remains one of the most impactful upgrades a homeowner can make when installed with intention and technical expertise. Proper planning, quality materials, and careful execution transform outdoor spaces into functional, visually engaging environments that perform reliably night after night.